Adding Your Products
This is the foundation of your digital catalogue. In this video, we guide you through setting up categories and products, customising menu item options, and marking required selections with an asterisk so customers must make a choice.
This guide covers how to organise your menu and add items to your store using the NeroPOS management system.
1. Accessing the POS Manager
- Log In: Access your NeroPay Account.
- Open NeroPOS: From the main dashboard, locate and click on “NeroPOS” in the left-hand sidebar.
- Expand the Menu: Click the dropdown arrow next to NeroPOS to reveal the Categories and Products tabs.
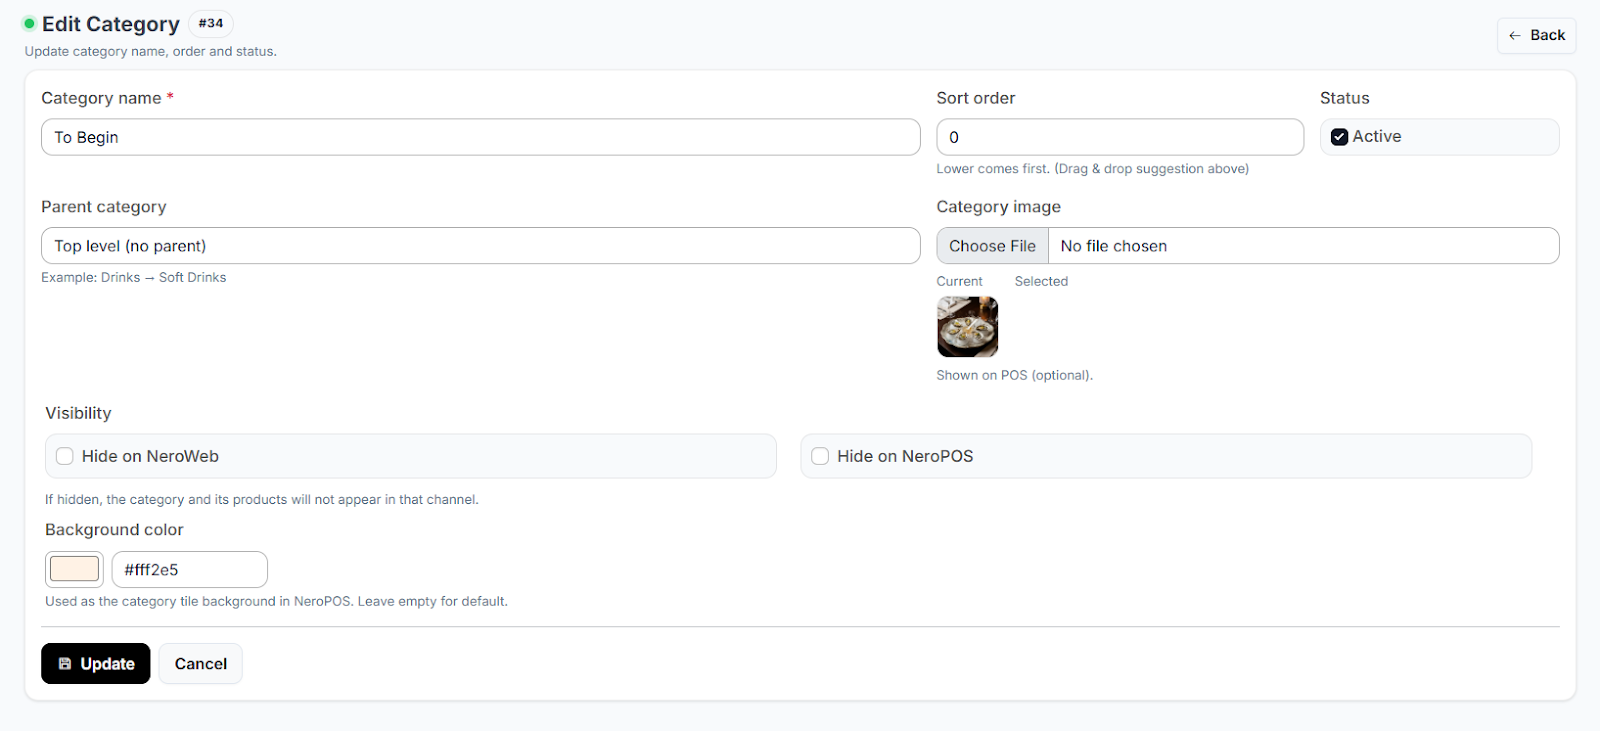
2. Creating & Organising Categories
Before adding products, you need to create "folders" (Categories) for them to live in (e.g., Starters, Mains, Drinks).
- Navigate: Click on the “Categories” tab.
- Create: Click "Add Category" to name your new section.
- Arrange: You can change the order in which categories appear on your store by clicking and dragging the icon on the far left of each category row.
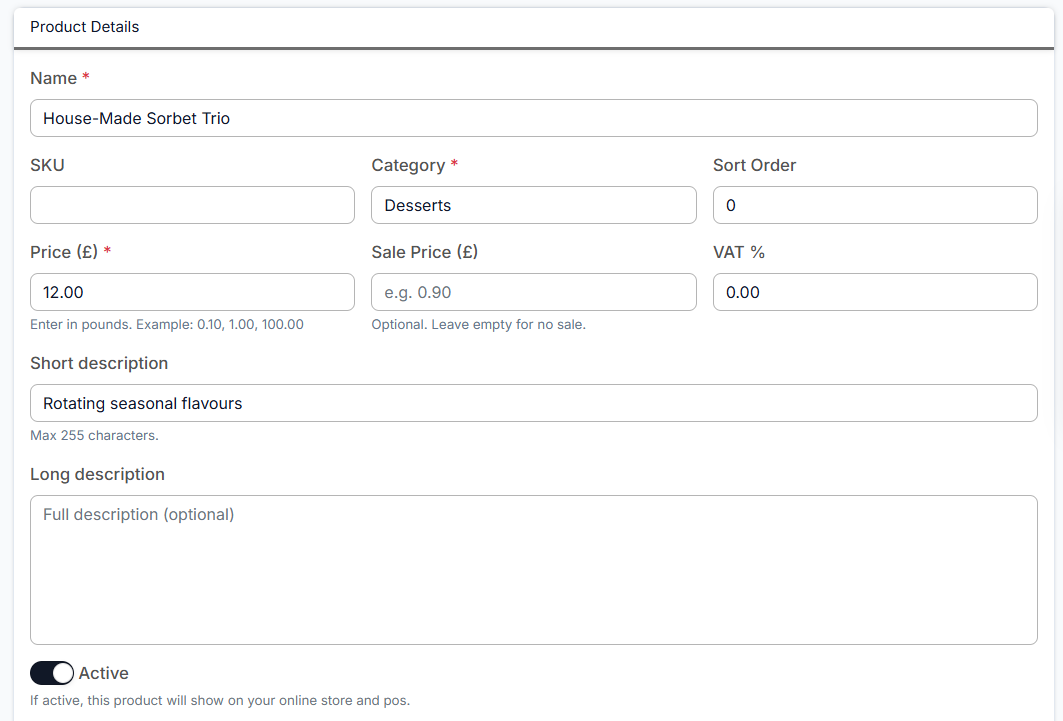
3. Adding New Products
- Navigate: Click the “Products” tab from the left-hand menu.
- Create: Click the green “Add Product” button at the top right of the page.
- Basic Info: * Name: Give your product a clear title.
Assign Category: Select one of the categories you created in the previous step from the dropdown.
Pricing: Enter the standard price. You can also enter a Discounted Price if you are running a promotion.
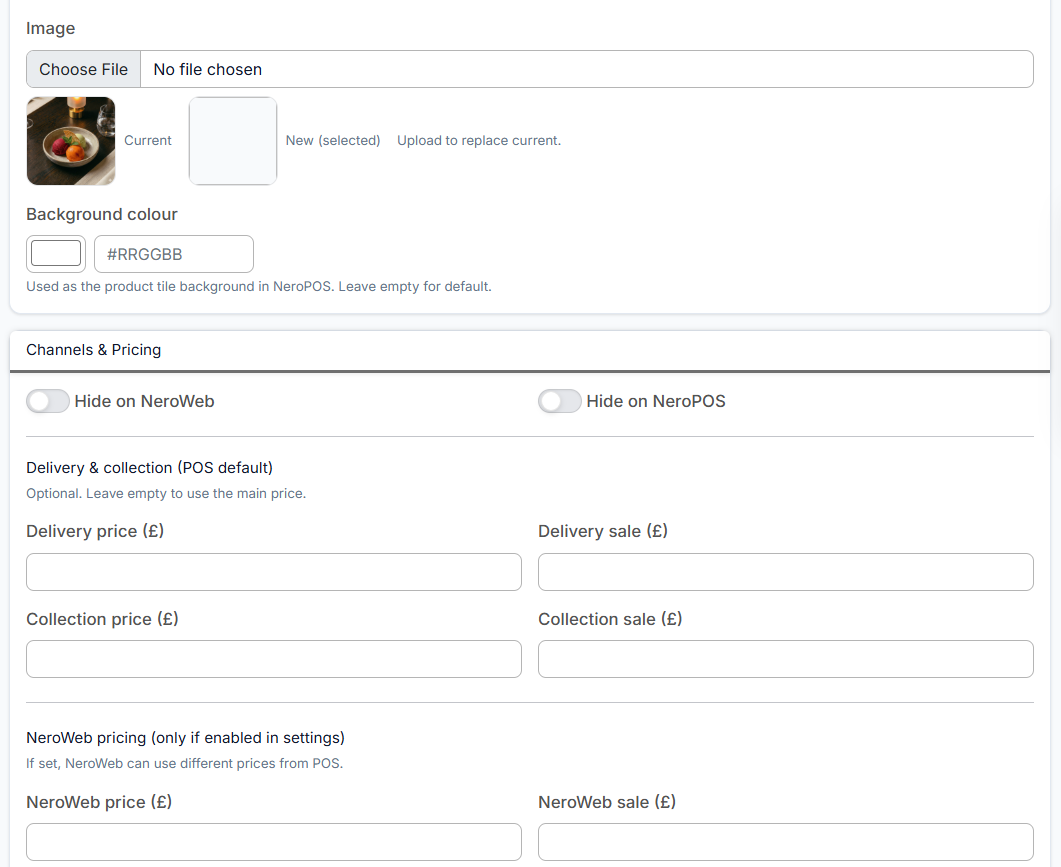
4. Product Customisation & Images
Once the basic info is in, scroll down the product page to configure advanced settings:
- Product Imagery: Upload a high-quality image. This is what customers will see while browsing your online store.
- Visibility: If you want an item to be available in-store only, toggle the “Hide on NeroWeb” option. This keeps the item in your POS but removes it from your website.
- Custom Delivery Rates: If a specific product requires a unique shipping cost (e.g., a very heavy item), you can set a Separate Delivery Price specifically for that item.
5. Staff Notes & Specifics
Towards the bottom of the page, you can enable a Note Section. This allows your staff to add specific details or customer requests to an item when adding it to the basket in the POS.
[!TIP] Check your work: After adding a product, it’s a good idea to refresh your NeroWeb site to see how the image and price look to a customer.
If you have any questions, please contact us via email at support@neropay.app