The store is where your merchants buy terminals, EPOS kit and accessories. You choose how it is branded, which items appear, what each one sells for and whether a merchant can pay monthly. NeroPay supplies, ships and handles returns. This article covers the settings, the orders view and the invoice register — and the one money rule that matters more than any other.
The three store modes
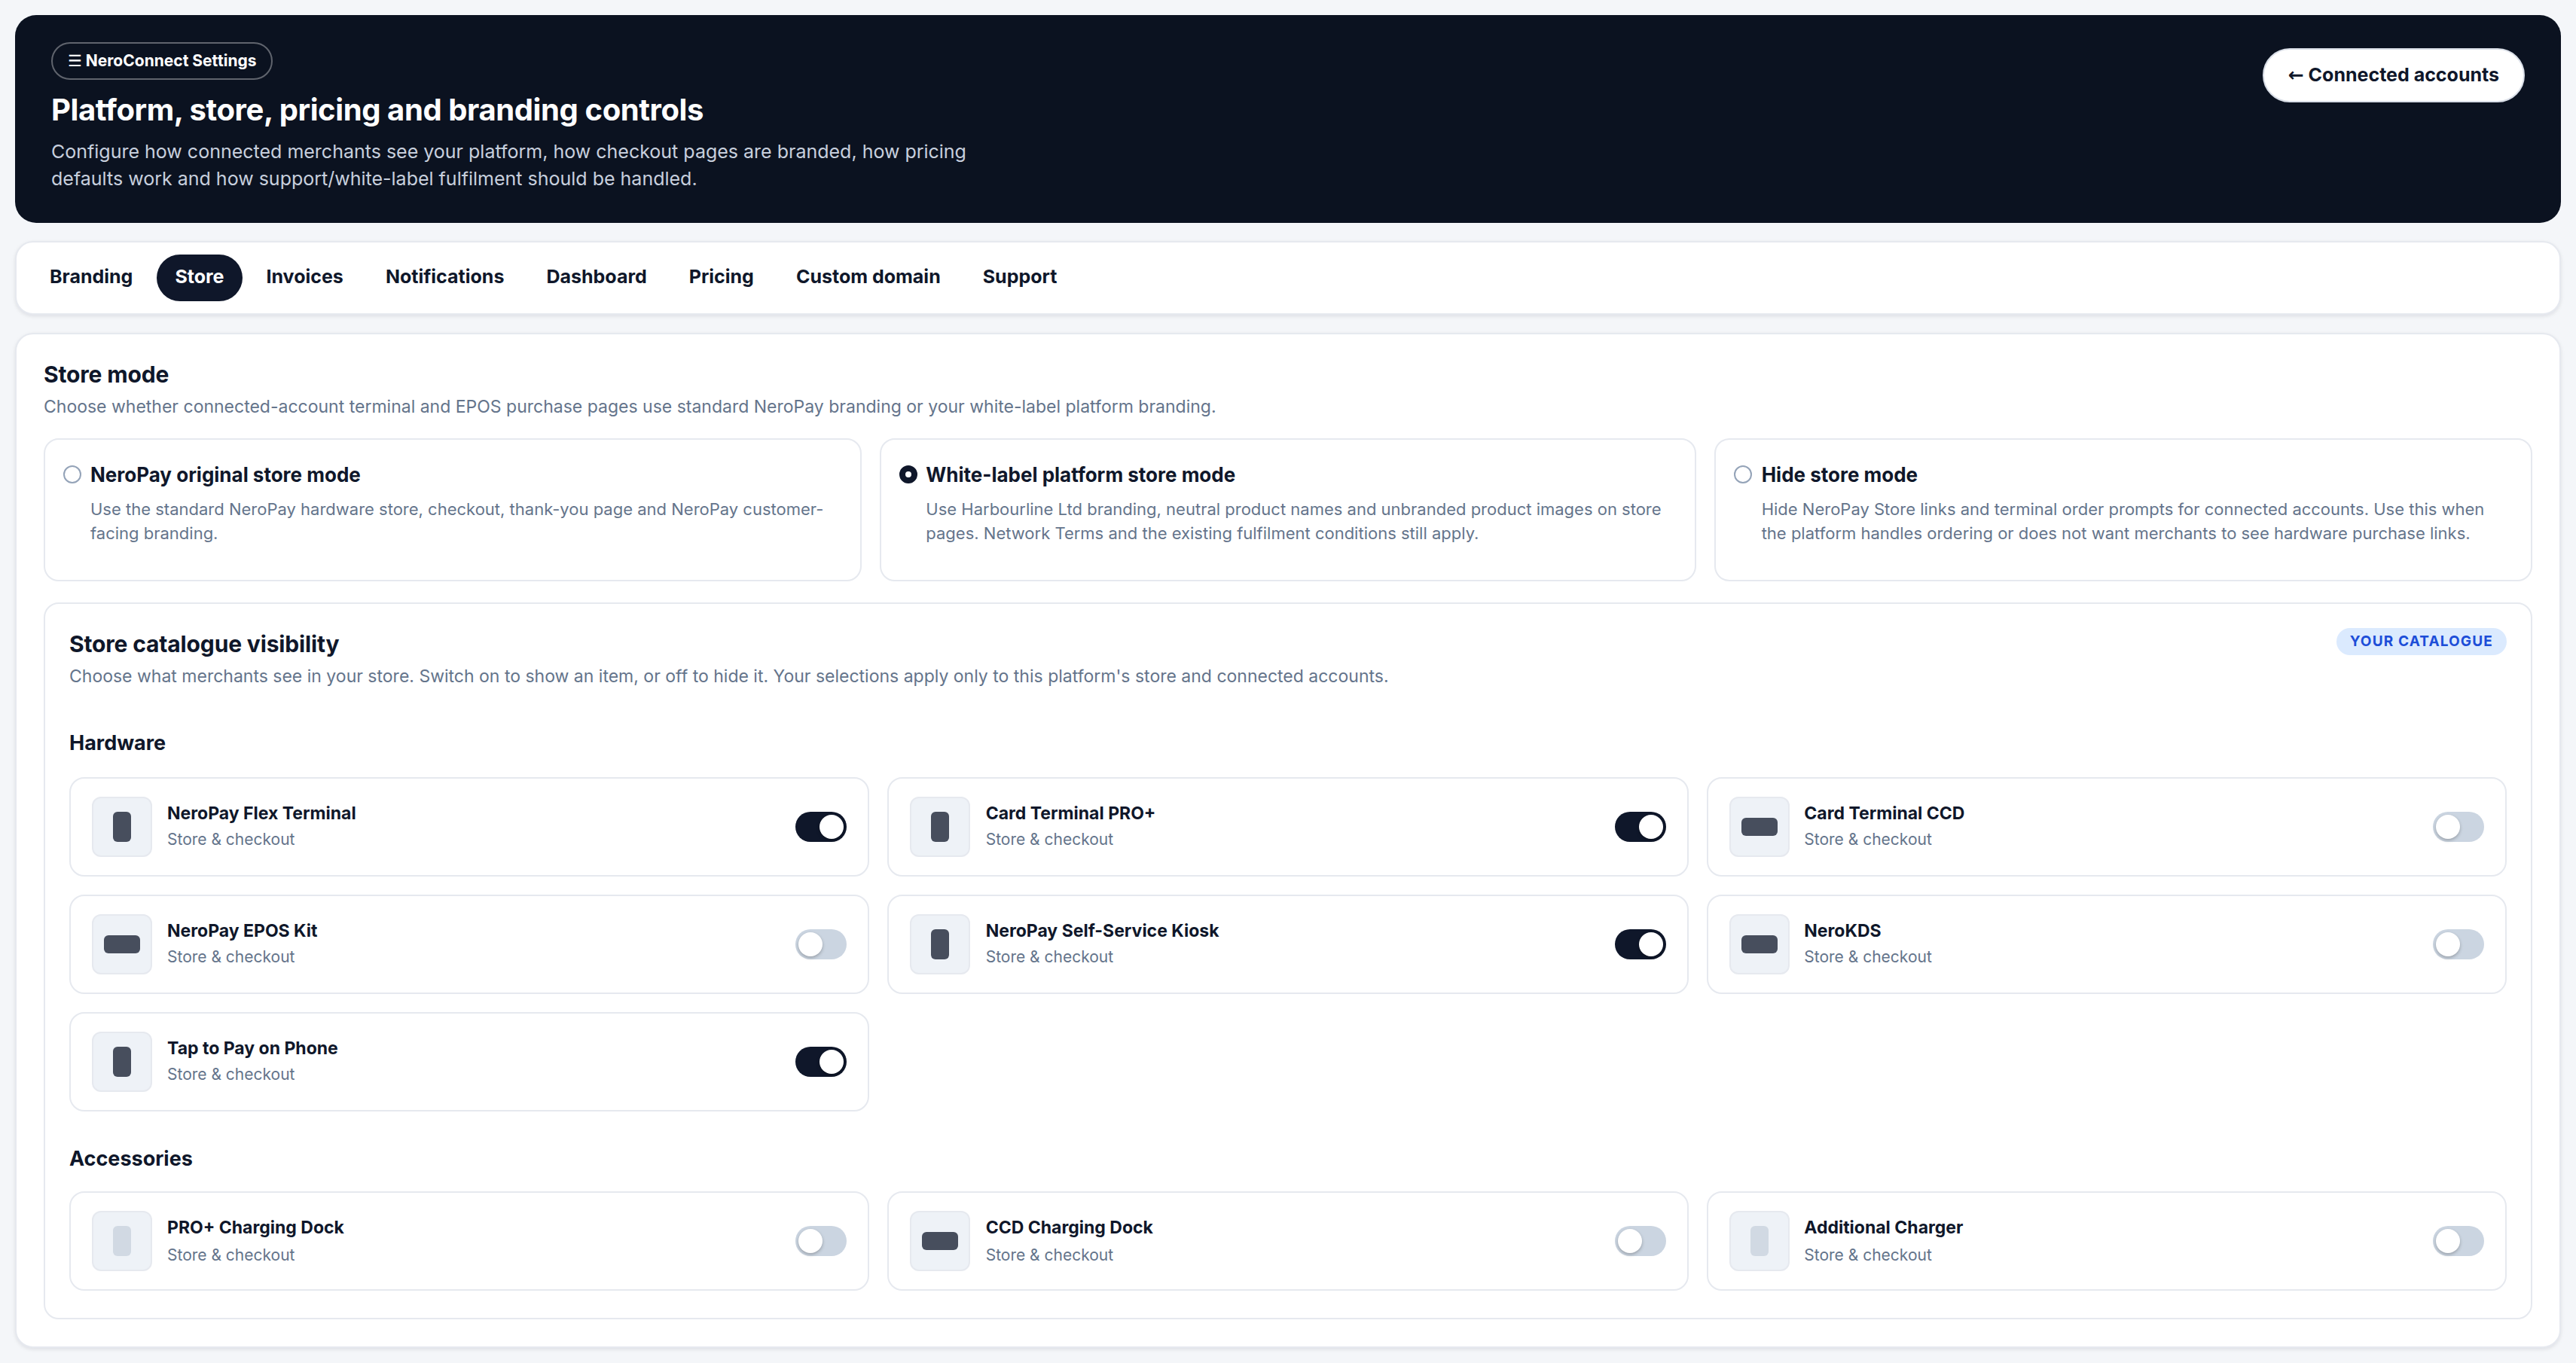
Go to NeroConnect → Settings → Store. The first panel, Store mode, decides whether your merchants' terminal and EPOS purchase pages carry NeroPay branding or yours — or whether they see a store at all. The three modes are mutually exclusive.
| NeroPay original | White-label platform | Hide store | |
|---|---|---|---|
| Store, checkout and thank-you page | Standard NeroPay hardware store and customer-facing branding | Your platform branding throughout | Not shown |
| Product names and images | NeroPay product names and images | Neutral product names and unbranded images | Not shown |
| Store links and terminal order prompts | Shown to connected accounts | Shown to connected accounts | Removed from connected accounts |
| Use when | NeroPay branding on hardware pages is acceptable | Merchants should only ever see your brand | You order hardware yourself, or do not want merchants to see purchase links |
💡 Note: White-label mode changes what the merchant sees, not the terms of supply. Network terms and the existing fulfilment conditions still apply to every order placed through a white-label store.
Catalogue visibility
Below the store mode is Store catalogue visibility. Each item has a switch: on shows it in your store, off hides it. Your selections apply only to this platform's store and its connected accounts. Items are grouped in three sections.
| Group | What it contains |
|---|---|
| Hardware | Terminals, EPOS kit, self-service kiosk, kitchen display and Tap to Pay on Phone |
| Accessories | Docks, chargers, scales, scanners, receipt printers, cash drawers and paper |
| Software | Web, booking, POS, trade and gym add-ons, with a master switch for the whole section |
Three rules to know before you hide anything
| If you hide | What happens |
|---|---|
| A terminal | Its optional checkout add-on is hidden with it |
| Hardware that is part of an EPOS bundle | The item disappears as a standalone product but is not removed from the bundle |
| A software add-on | It leaves the store only — existing subscriptions and dashboard permissions are unchanged |
📸 The Store tab, with the three store modes at the top and the catalogue visibility switches for hardware and accessories beneath.
Store pricing and the supply cost rule
Hardware is the one place in NeroConnect where you carry balance-sheet risk, so read this rule before anything else on the page.
⚠️ The full NeroPay supply cost is debited from your platform balance once, when an order is paid — not monthly. This is true whether the merchant pays in full or on a monthly plan, and you remain liable for the supply cost if the merchant later misses a payment.
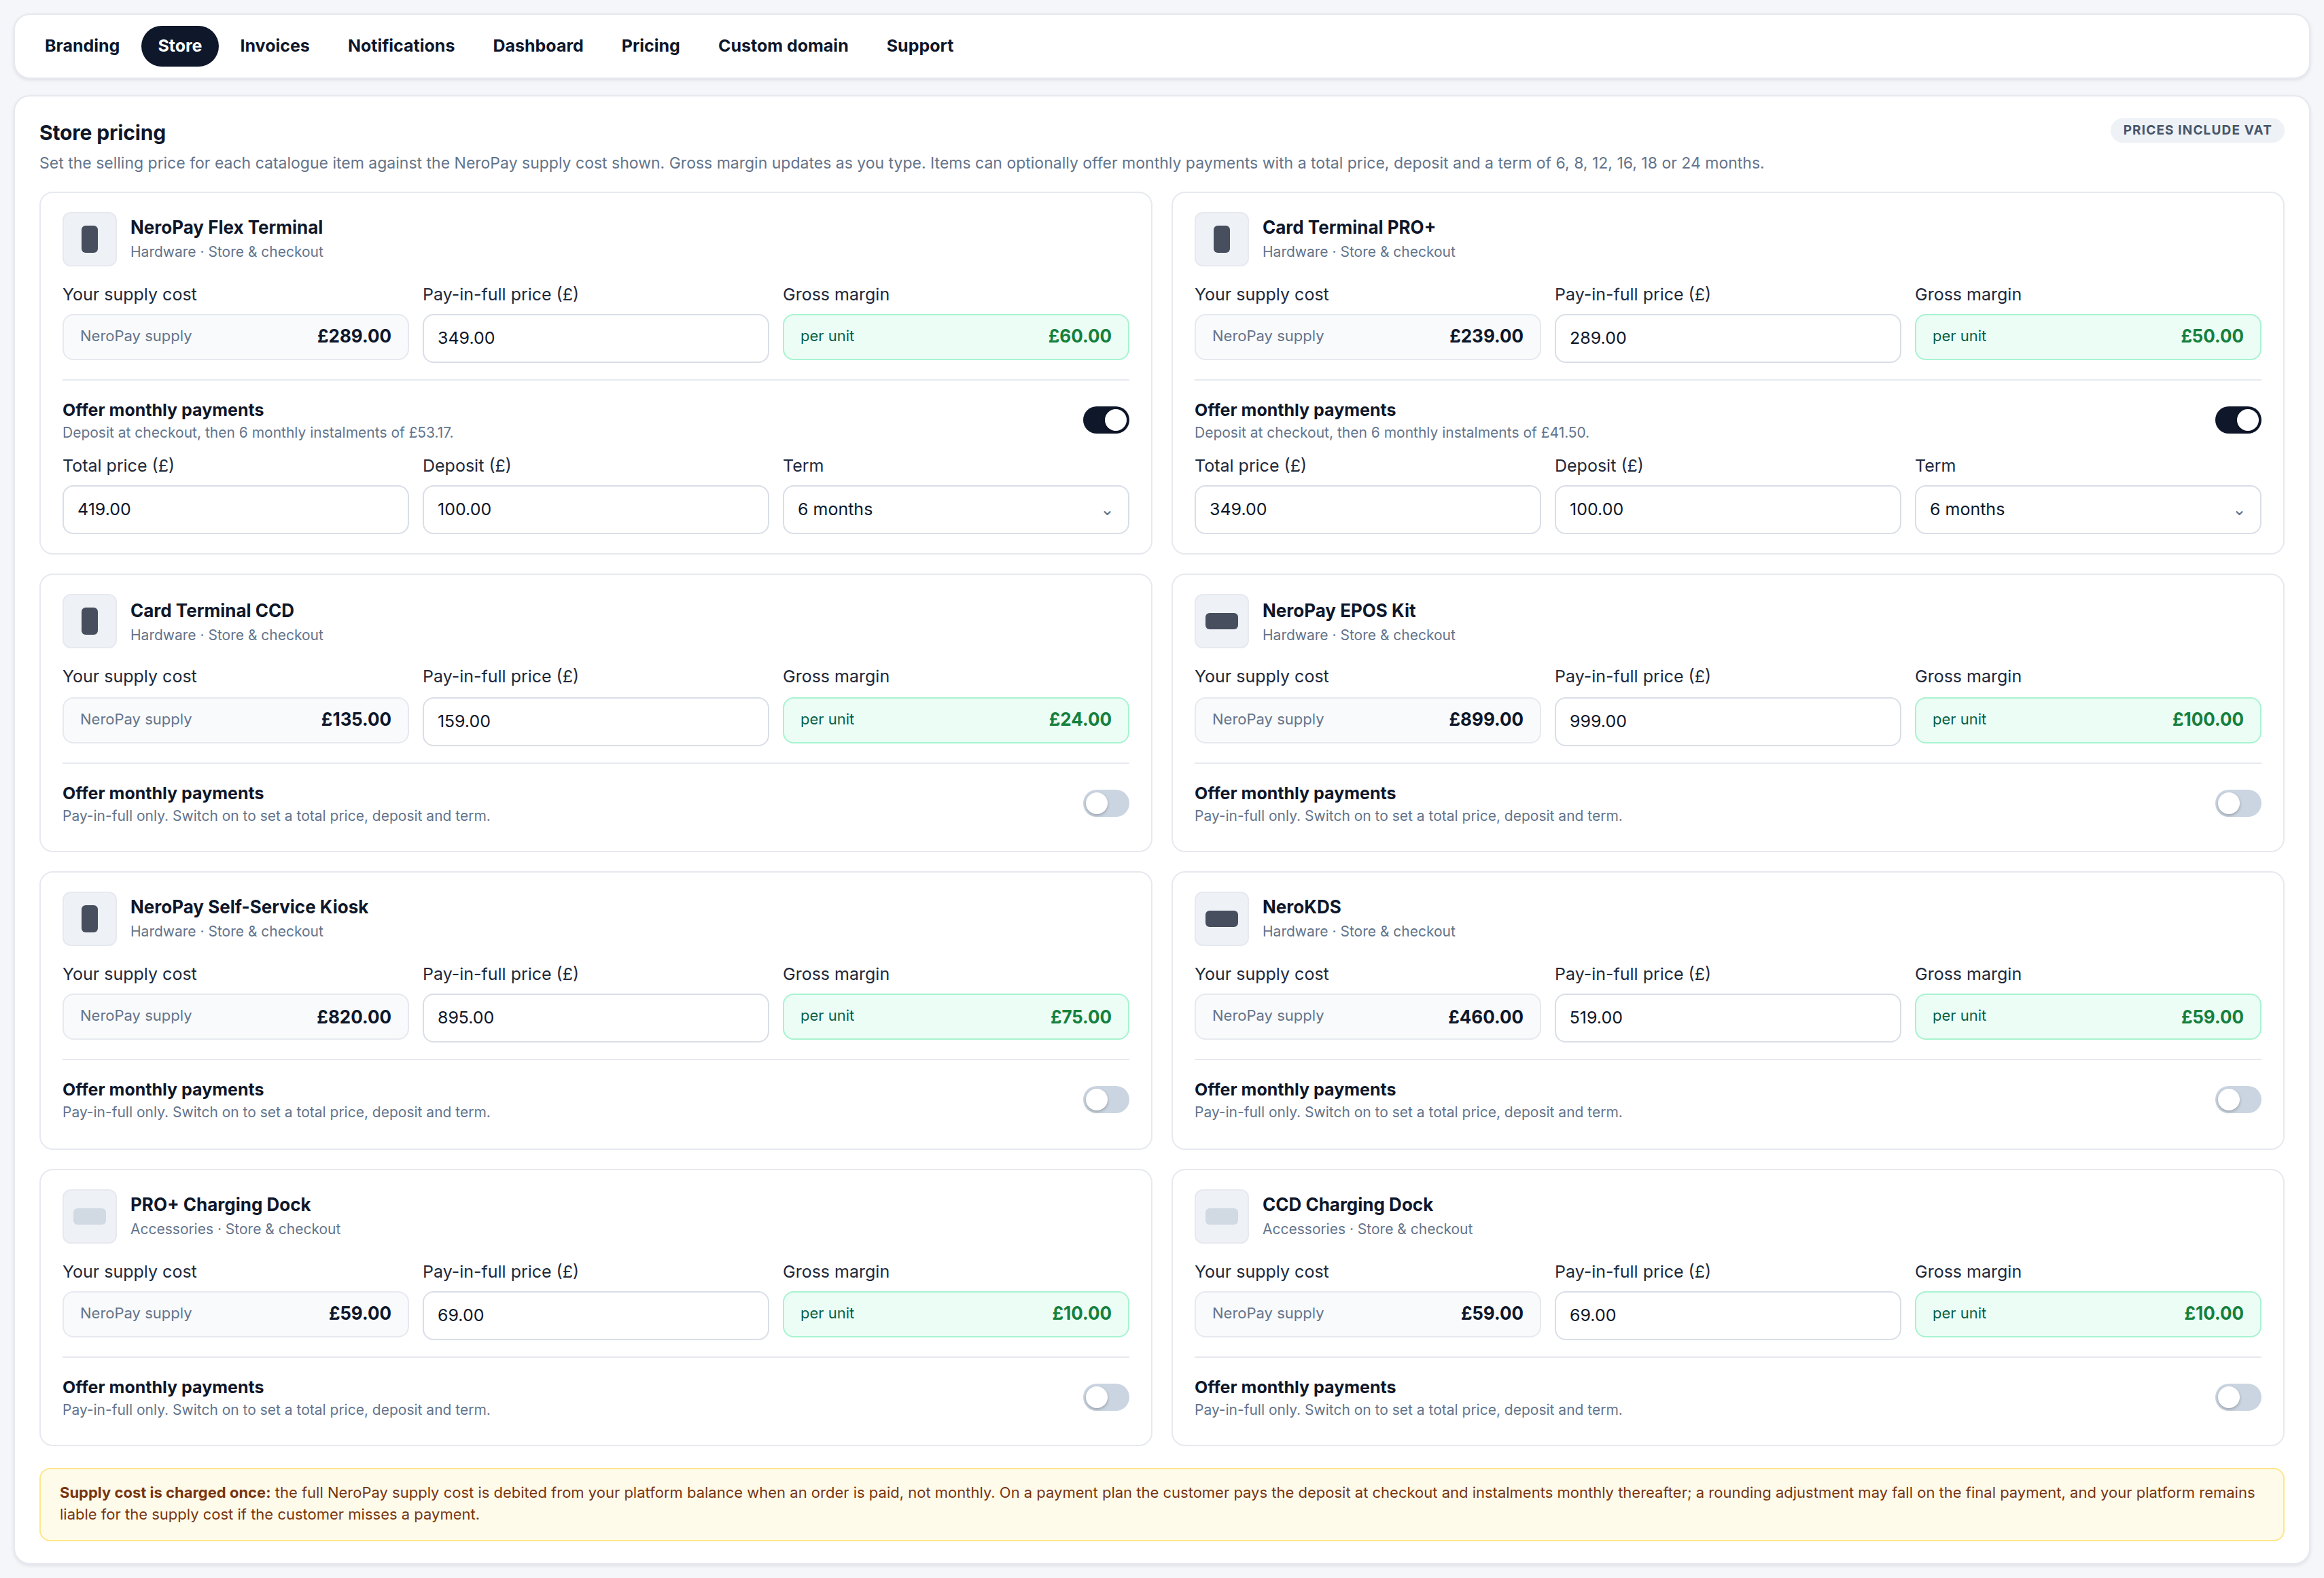
The Store pricing panel lists every catalogue item with the same set of fields. The panel is marked as showing prices inclusive of VAT.
| Field | What it does |
|---|---|
| Your supply cost | Read only — what NeroPay charges you for the item |
| Pay-in-full price | The selling price a merchant pays at checkout when paying outright |
| Gross margin | Selling price less supply cost, per unit — updates as you type |
| Offer monthly payments | Switch that adds a payment plan to the item alongside the pay-in-full option |
| Total price | What the merchant pays in total across the plan |
| Deposit | Paid at checkout; the remainder is split into instalments |
| Term | 6, 8, 12, 16, 18 or 24 months |
How a monthly plan runs
The merchant pays the deposit at checkout and the balance in monthly instalments over the chosen term; the panel shows the resulting instalment beneath the switch as you set the plan. A rounding adjustment may fall on the final payment. The instalments are between you and the merchant — your supply cost was settled in full when the order was paid.
📸 Store pricing, with supply cost, pay-in-full price and live gross margin per item, and a monthly payment plan switched on for two of the terminals. Figures shown are illustrative.
Discount codes
Discount codes let you reduce the selling price for a promotion without changing the catalogue price for everyone.
| Rule | What it means |
|---|---|
| Scope | A code works only for this platform's merchants |
| Stacking | Codes cannot be combined on one order |
| What it reduces | The selling price only — NeroPay's supply cost is never reduced |
⚠️ A discount comes out of your margin, not out of NeroPay's supply cost. Check the gross margin on the Store pricing panel before you set the size of a code.
Seller and invoice details
By default, store invoices carry your registered business details. The Seller and invoice details fields optionally override those for store invoicing only; nothing else in your account changes.
Beneath the fields is a fixed authorisation checkbox that cannot be removed. It confirms that you are the seller to your merchants and remain responsible for the selling prices, tax details, payment plans and customer obligations on every order placed through your store. NeroPay supplies the hardware to you; the sale to the merchant is yours.
💡 Note: If no VAT status is recorded for your business, invoices issued to your merchants are produced without a VAT breakdown. Record your VAT details before the first order if your merchants will need one.
All of the store settings above are saved with the single Save NeroConnect settings button at the foot of the page. Leaving the tab without pressing it discards your changes.
Connect Orders
Go to NeroConnect → Connect Orders to see every hardware and EPOS order your merchants have placed through the store, and the state of any payment plan. It is a tracker, not a fulfilment console: fulfilment and return approvals are managed by NeroPay. The page is empty until the first merchant buys hardware.
| Column | What it shows |
|---|---|
| Order / date | Order reference and when it was placed |
| Connected merchant | The merchant who placed the order |
| Total sale | What the merchant is paying you |
| Supply cost | What NeroPay charged you for the order |
| Payment status | Whether the order is paid, and where a payment plan stands |
| Fulfilment | NeroPay's fulfilment state for the order |
| Details | Opens the order |
The Invoices button in the page header jumps to the invoice register described below.
📸 Connect Orders before any merchant has bought hardware, showing the seven columns and the Invoices button.

💡 Note: On the Free support plan, orders are fulfilled but devices ship without custom white-label preparation unless you place the order yourself. White-label shipping support is part of Premium — see Support plans.
The invoice register
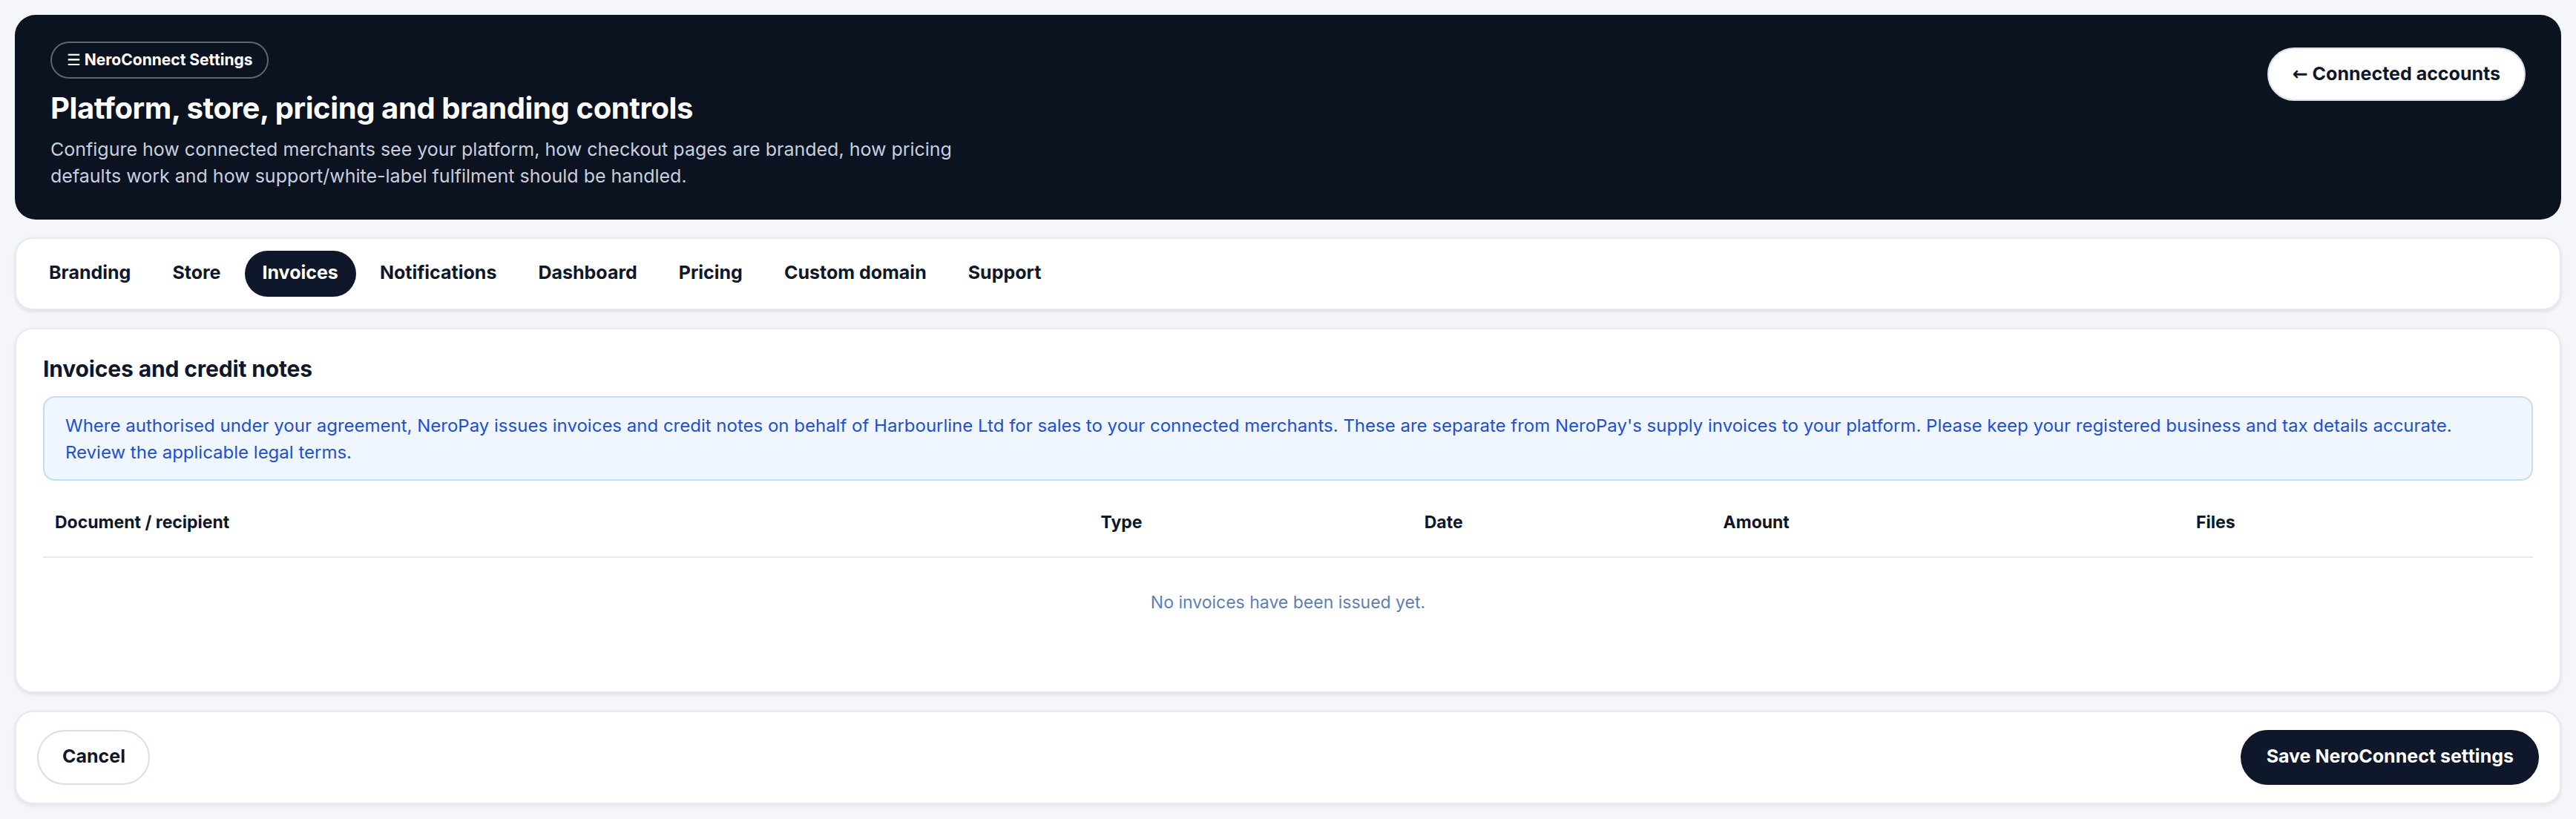
Go to NeroConnect → Settings → Invoices. Where your agreement authorises it, NeroPay issues invoices and credit notes on your behalf for sales to your connected merchants, and this tab is the register of those documents — document and recipient, type, date, amount and files.
These are separate from NeroPay's own supply invoices to you, which are not listed here. Because the merchant-facing documents use your registered business and tax details, keep those accurate — and review the applicable legal terms linked from the tab.
📸 The Invoices tab, which lists invoices and credit notes issued in your name to connected merchants.
Frequently asked questions
A merchant is on a monthly plan. When am I charged the supply cost?
Once, in full, when the order is paid. The merchant's instalments are collected over the term, but your supply cost is not spread with them. If the merchant stops paying, the supply cost has already been settled and remains yours.
Can I use the store without any NeroPay branding?
Yes. Choose White-label platform store mode. Store pages, checkout and the thank-you page use your branding, with neutral product names and unbranded images. Whether the NeroPay mark appears on the checkout page itself is a separate switch on the Branding tab — see Getting started — branding and your custom domain.
I hid a terminal but it still shows inside the EPOS bundle. Is that a fault?
No. Hiding an item removes it as a standalone product. Hardware that belongs to an EPOS bundle stays in the bundle. Hiding a terminal does, however, hide its optional checkout add-on.
Where does the payment for a hardware order fall in my pricing?
Store-order payments are processed under the Online Payment API pricing group, alongside online and API payments. See How pricing works — who sets what.
A merchant wants to return a device. Do I approve it?
No. Fulfilment and return approvals are managed by NeroPay. Connect Orders shows you the state of each order; it does not let you ship or approve returns yourself. You remain the seller to your merchant for pricing, tax and payment-plan obligations.
Still need help? Contact us at support@neropay.app or create a ticket.