How to get there
From your dashboard, follow this path: Account → Account & Profile
Tab 1 — Profile
The Profile tab is divided into two sections: your account summary on the left, and your editable profile information on the right.
Account summary
This panel shows a read-only overview of your account:
| Field | What it shows |
|---|---|
| Legal Company Name | The name registered to your NeroPay account |
| Plan | Your current NeroPay plan — e.g. NeroFree |
| Account Number | Your unique NeroPay account number |
| NeroPIN Number | Your PIN (hidden by default — click the eye icon to reveal) |
| Username | Your login username (cannot be changed) |
| Country | Your registered country |
| System Language | Your display language — click Edit to change |
| Statement descriptor | How your business name appears on customer bank statements — click Edit to change |
| Shortened descriptor | The short version of your statement descriptor — click Edit to change |
| Website / Product | Your registered website or product description |
Below the account summary, you will also see a confirmation that all NeroPay terms, policies and agreements have been accepted, along with the full legal name, acceptance date, and electronic signature record.
📸
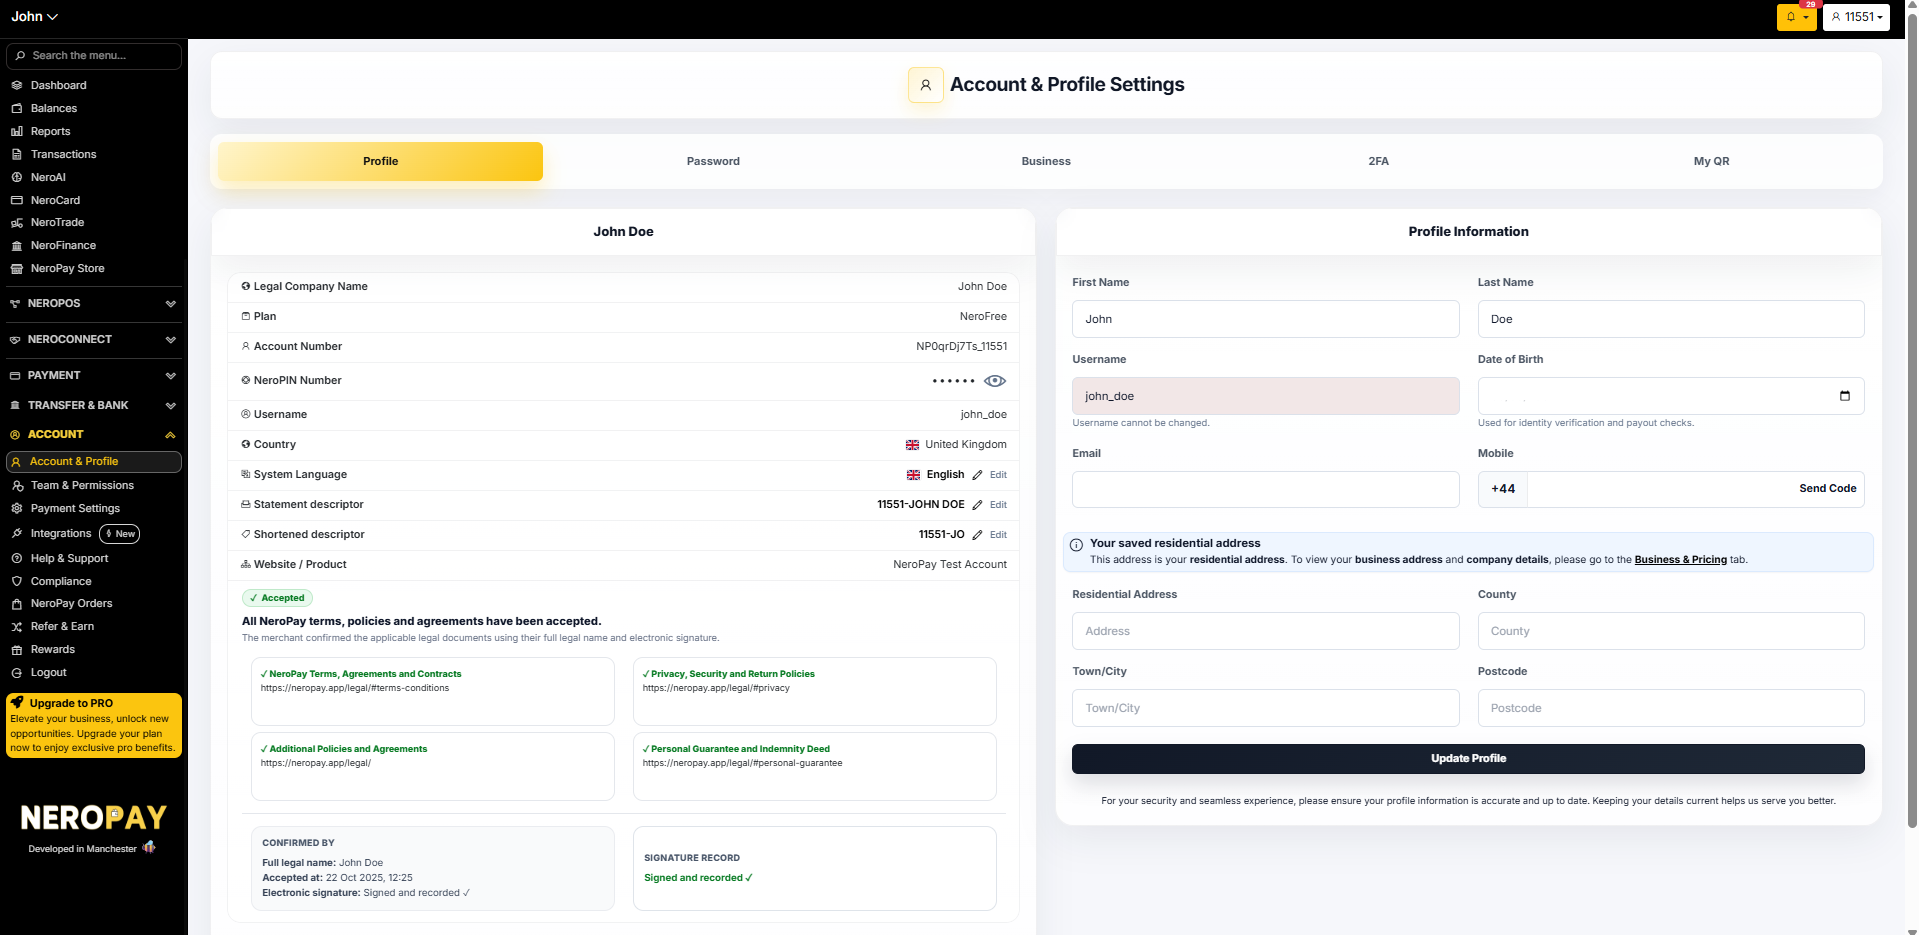
Profile Information
On the right side, you can update your personal details:
| Field | Notes |
|---|---|
| First Name | Editable |
| Last Name | Editable |
| Username | Cannot be changed |
| Date of Birth | Used for identity verification and payout checks |
| Enter your email and click Send Code to verify | |
| Mobile | Enter with country code — click Send Code to verify |
| Residential Address | Your home address (separate from your business address) |
| County | Editable |
| Town/City | Editable |
| Postcode | Editable |
Once you have made your changes, click Update Profile to save.
💡 Your residential address is separate from your business address. To view or update your business address and company details, go to the Business tab.
Tab 2 — Password
Use this tab to update your account password.
How to change your password
- Enter your Current Password
- Enter your New Password
- Re-enter your new password in Confirm Password
- Click Update Password
📸
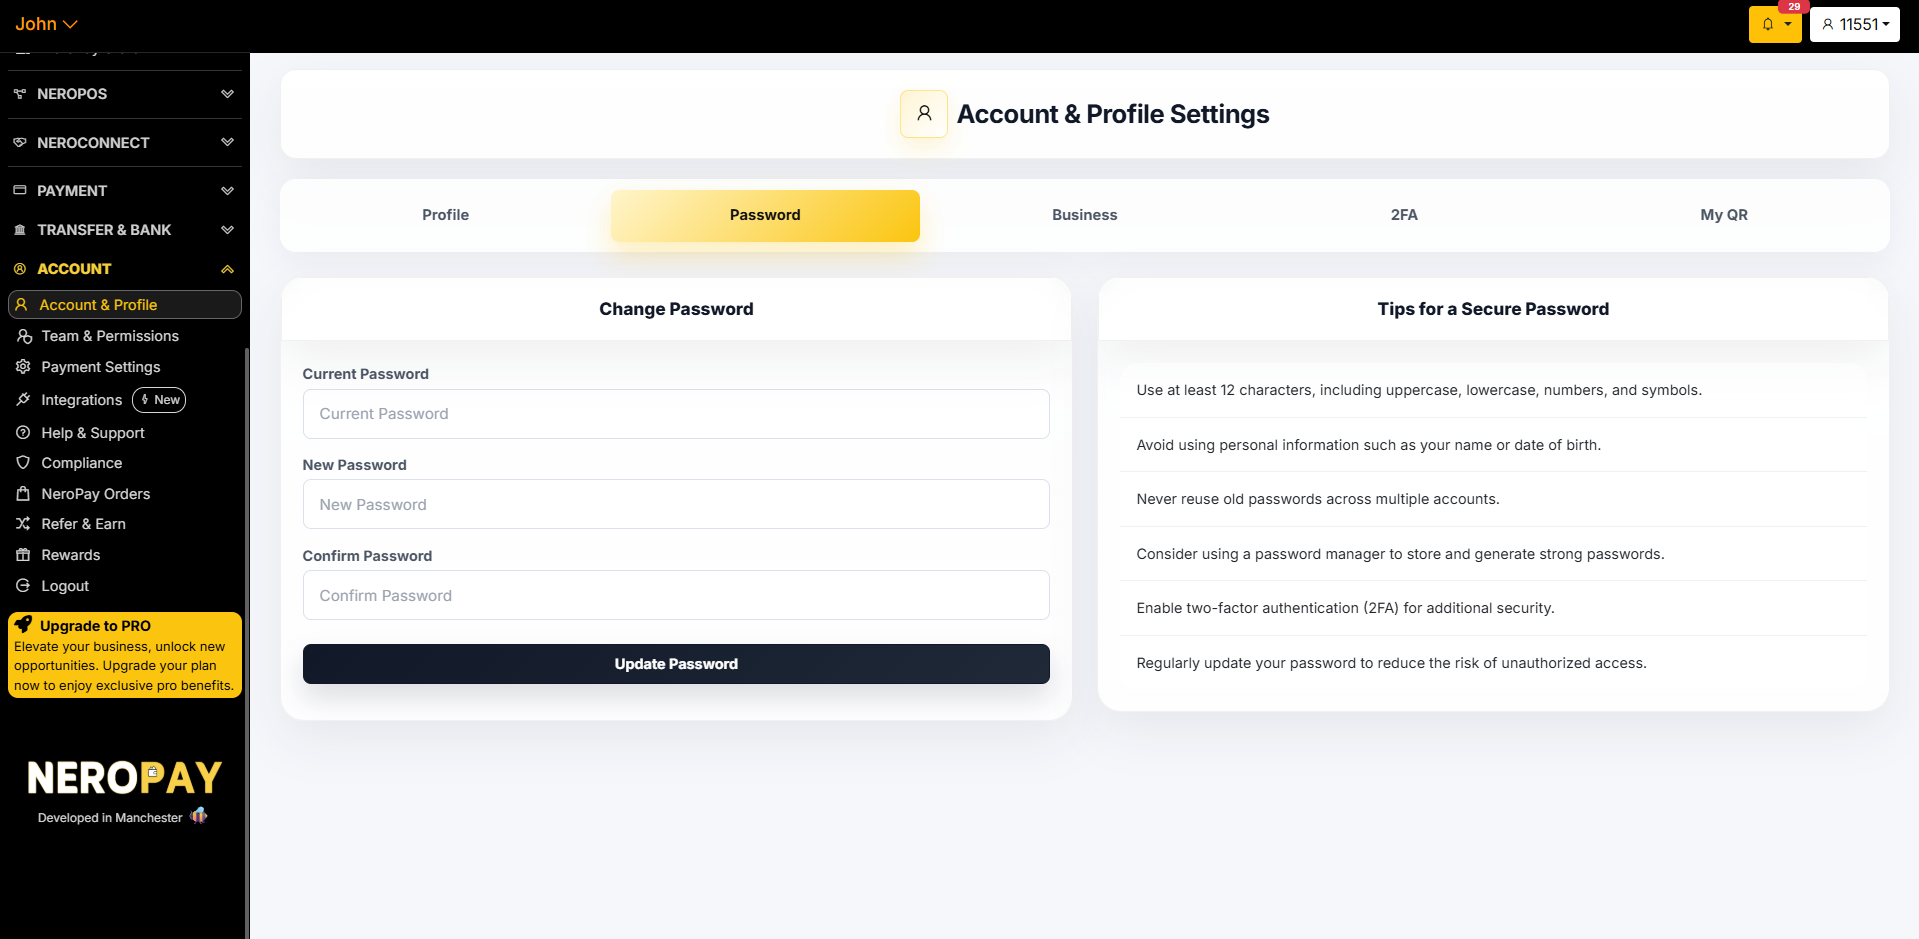
Tips for a secure password
- Use at least 12 characters, including uppercase, lowercase, numbers, and symbols
- Avoid using personal information such as your name or date of birth
- Never reuse old passwords across multiple accounts
- Consider using a password manager to store and generate strong passwords
- Enable two-factor authentication (2FA) for additional security
- Regularly update your password to reduce the risk of unauthorised access
Tab 3 — Business
The Business tab shows your merchant account details, fee schedule, and billing address. This information is tied to your contract with NeroPay.
📸
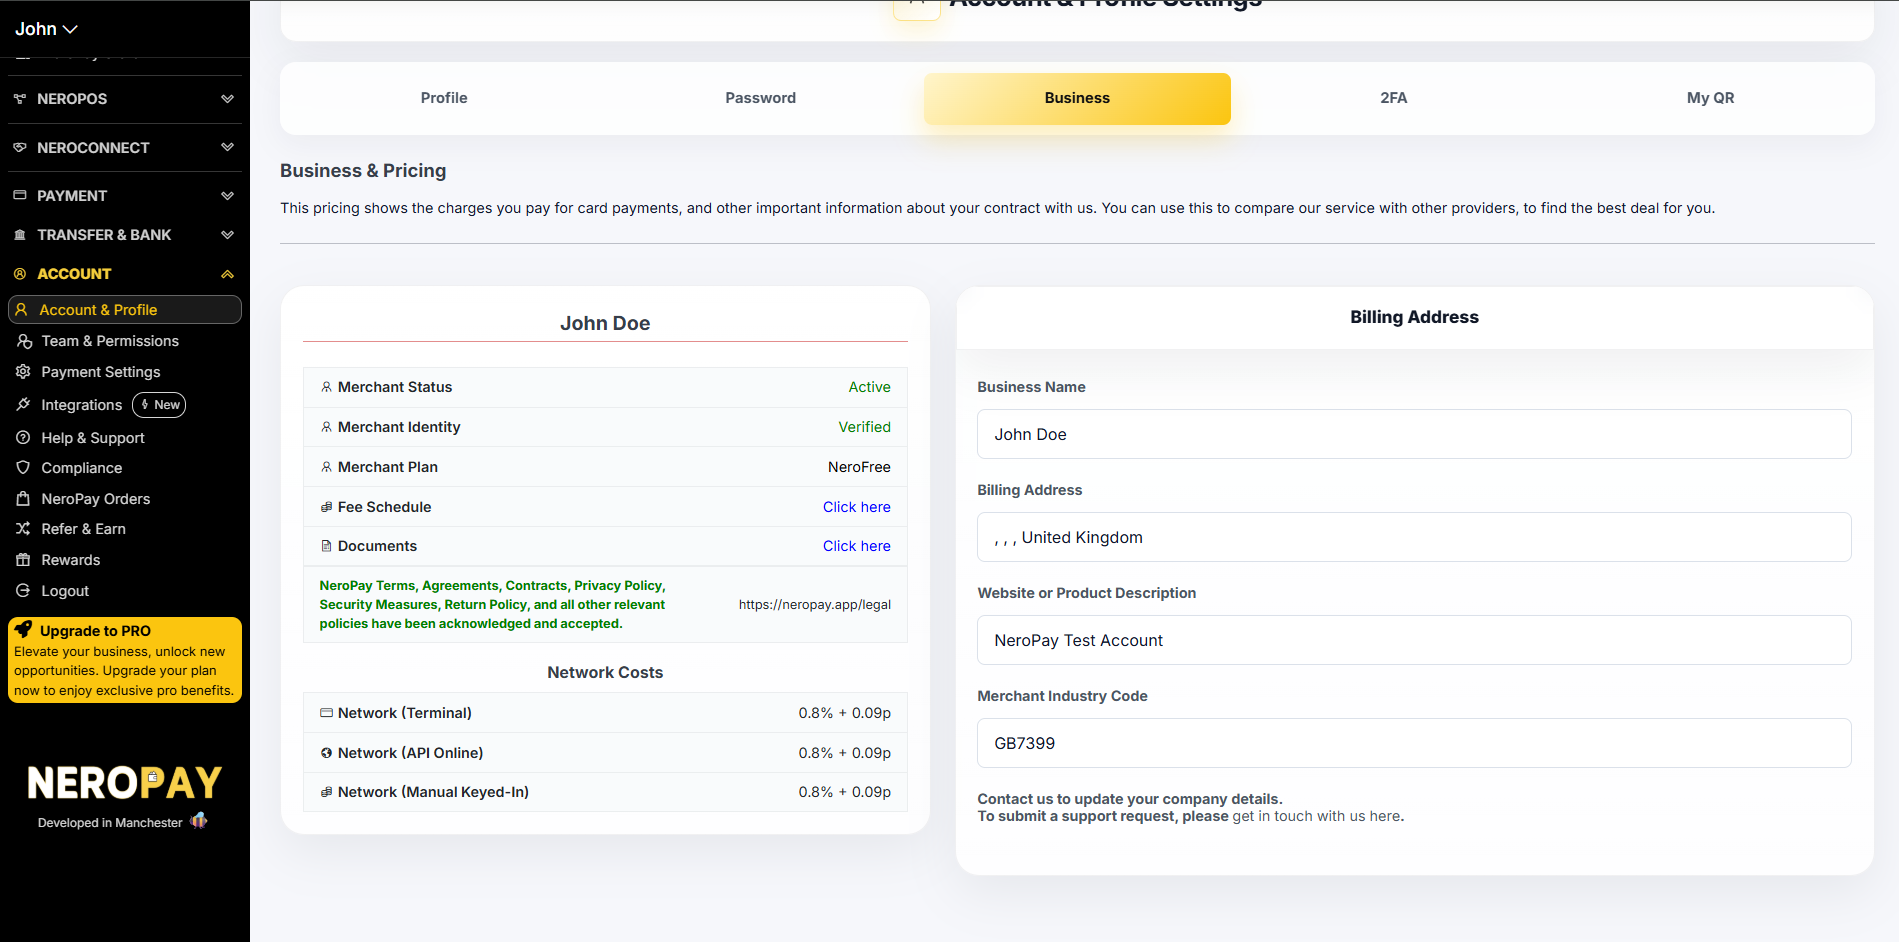
Merchant details
| Field | What it shows |
|---|---|
| Merchant Status | Your current account status — e.g. Active |
| Merchant Identity | Verification status — e.g. Verified |
| Merchant Plan | Your current plan — e.g. NeroFree |
| Fee Schedule | Click to view your full fee breakdown |
| Documents | Click to access your contracts and legal documents |
Network costs
This section shows the processing rates applied to your transactions:
| Payment type | Rate |
|---|---|
| Network (Terminal) | Shown on your account |
| Network (API Online) | Shown on your account |
| Network (Manual Keyed-In) | Shown on your account |
Billing address
The right panel shows your registered billing address, website or product description, and merchant industry code.
⚠️ To update your company details, contact the NeroPay support team directly. You cannot edit these fields yourself.
Tab 4 — 2FA
Two-factor authentication (2FA) adds a second layer of security to your account. Even if your password is compromised, no one can log in without your authenticator code.
How to enable 2FA
- Go to Account → Account & Profile → 2FA
- A QR code and a secret key will be displayed
- Open Google Authenticator (or any compatible authenticator app) on your phone
- Scan the QR code, or manually enter the secret key
- Click Enable Two Factor Authenticator to activate
📸
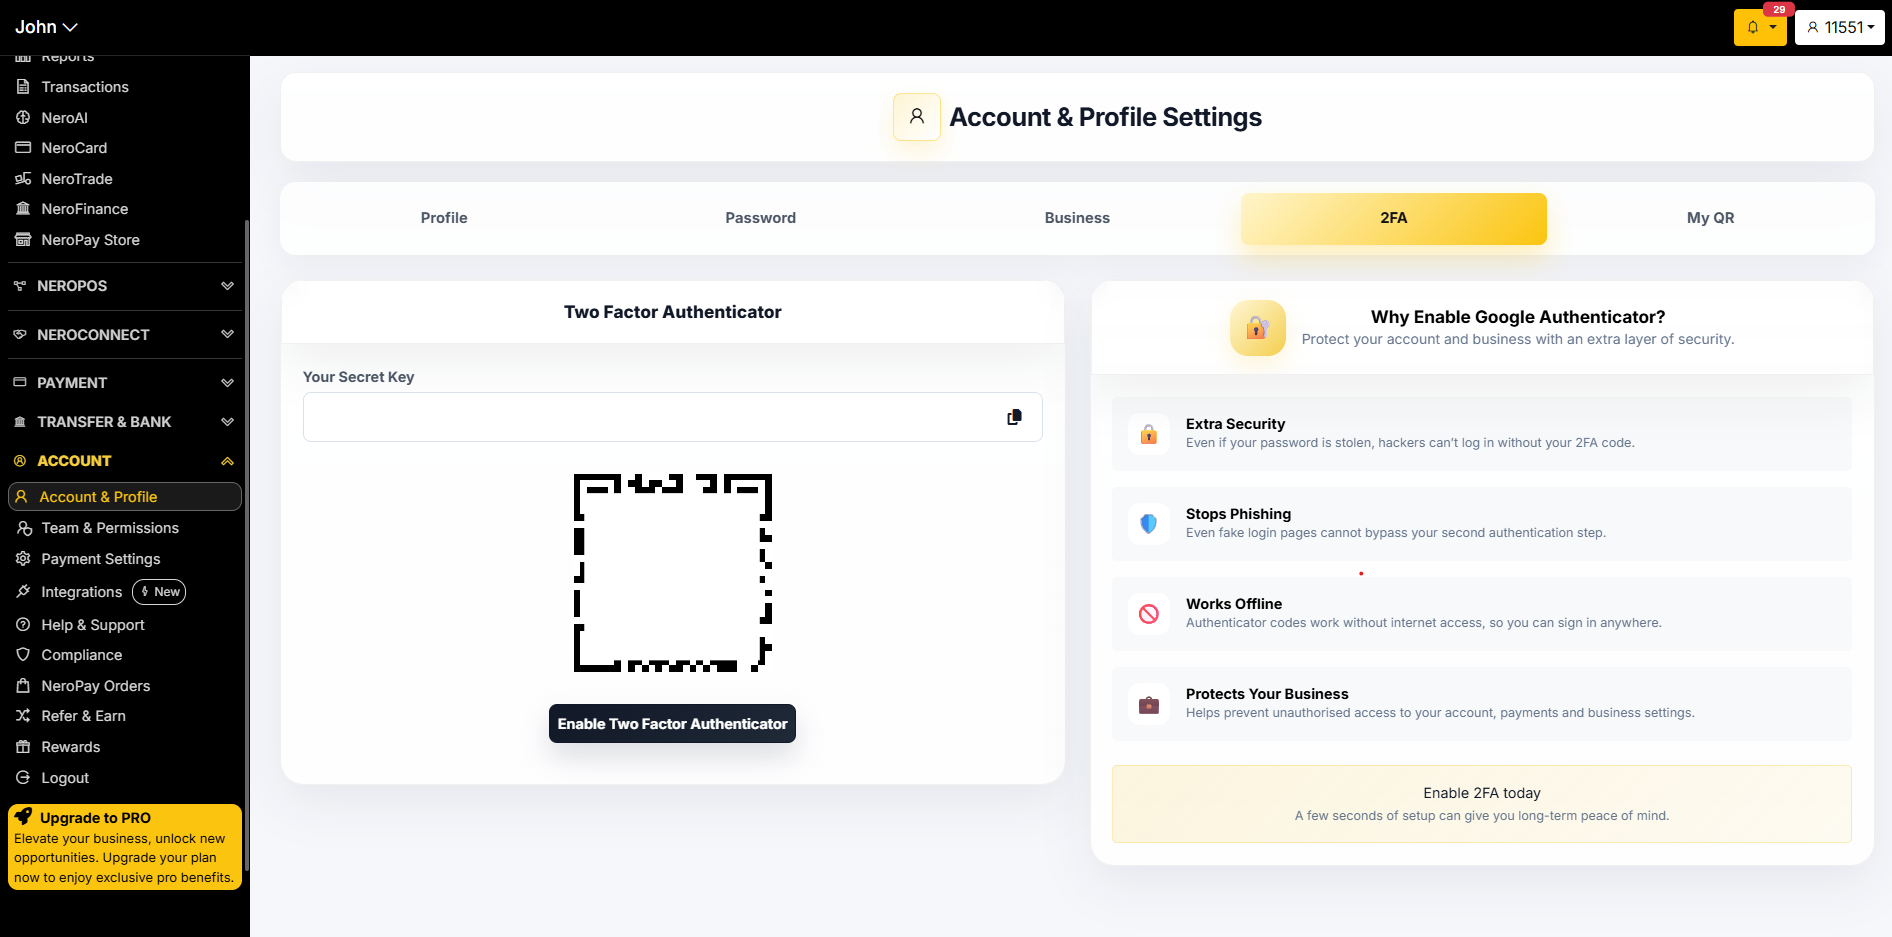
Why enable 2FA?
| Benefit | What it means |
|---|---|
| Extra security | Even if your password is stolen, hackers cannot log in without your 2FA code |
| Stops phishing | Fake login pages cannot bypass your second authentication step |
| Works offline | Authenticator codes work without internet access |
| Protects your business | Prevents unauthorised access to your account, payments, and settings |
💡 Setup takes under a minute. Once enabled, you will be prompted for your authenticator code each time you log in.
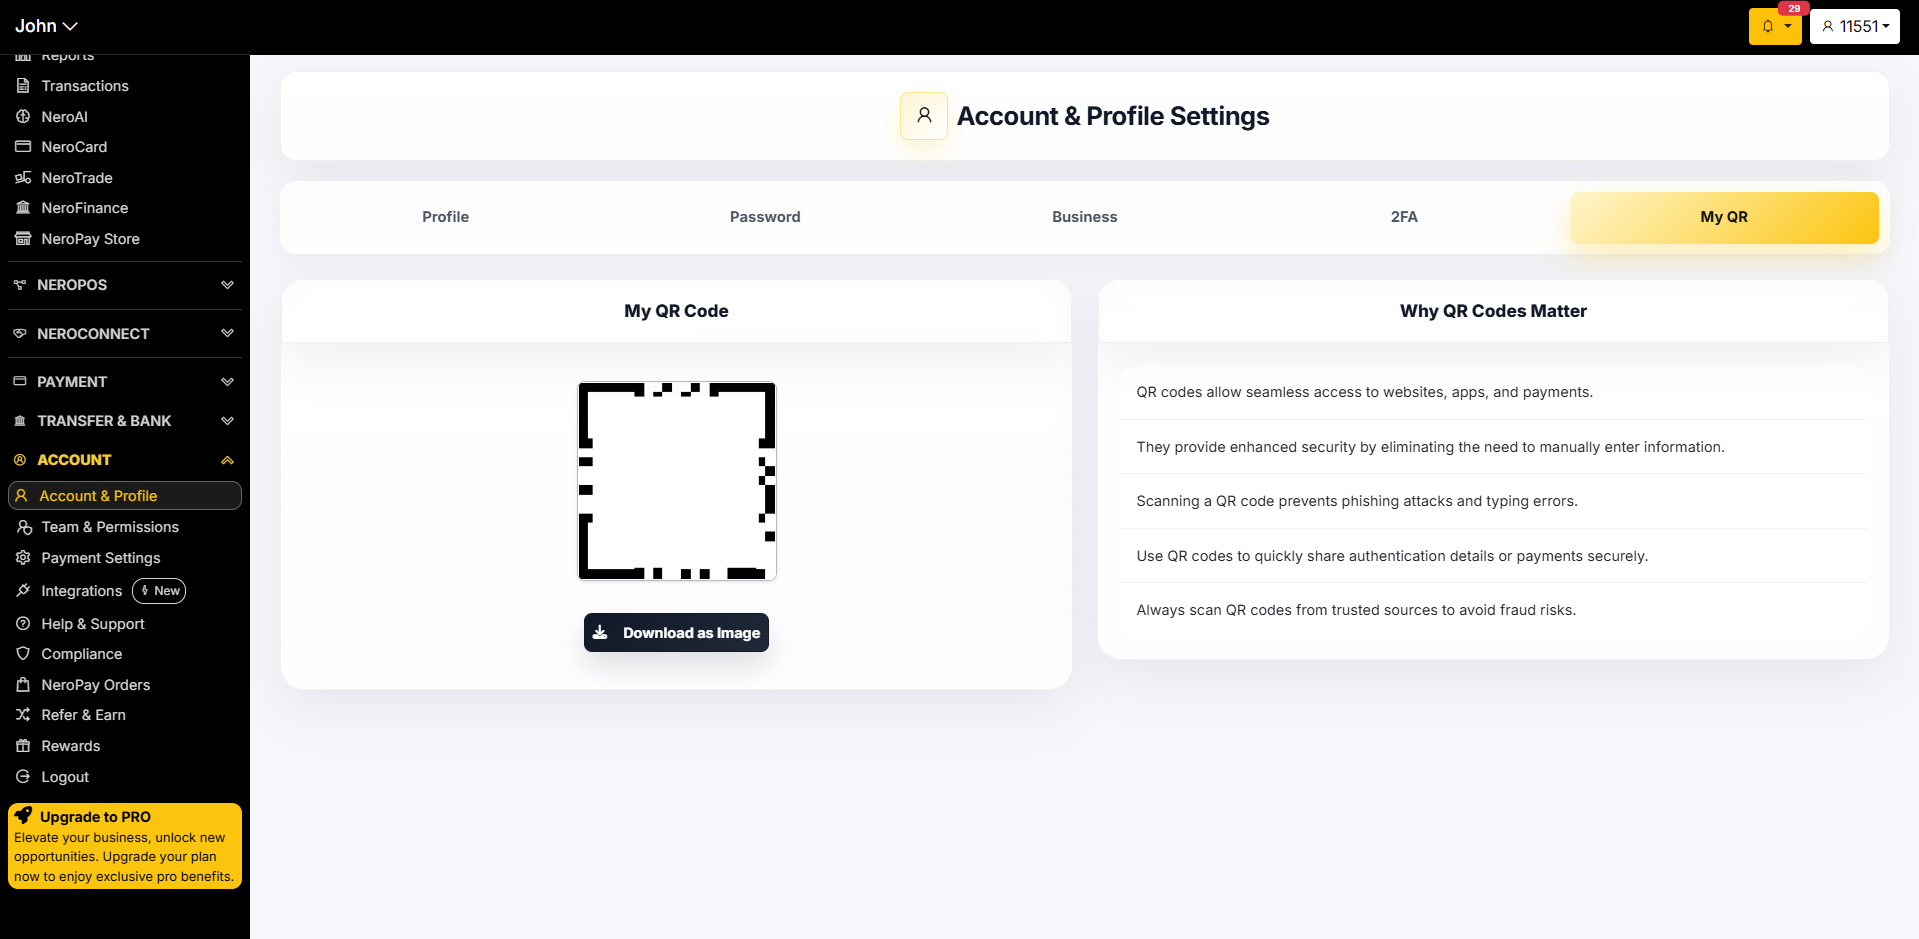
Tab 5 — My QR
Your merchant QR code is a unique code linked to your NeroPay account. You can download it and display it at your point of sale for customers to scan.
How to download your QR code
- Go to Account → Account & Profile → My QR
- Your QR code is displayed on screen
- Click Download as Image to save it to your device
📸
What QR codes are used for
- Allowing customers seamless access to your payments or ordering page
- Sharing authentication details securely
- Reducing manual entry errors at checkout
- Preventing phishing risks by directing customers to a trusted link
⚠️ Always ensure your QR code is displayed in a visible, trusted location. Only share QR codes through official channels to avoid fraud risks.
Frequently asked questions
Q: Can I change my username? A: No. Usernames cannot be changed once set. If you need assistance, contact support.
Q: How do I update my business address or company details? A: Business details cannot be edited directly. Go to the Business tab to view your current details, then contact support to request changes.
Q: What should I do if I lose access to my authenticator app? A: Contact NeroPay support immediately. You will need to go through an identity verification process to regain access.
Q: What is the statement descriptor? A: It is the name that appears on your customers' bank statements when they pay you. You can edit it from the Profile tab. Keep it recognisable to avoid customer disputes.
Q: Where can I find my fee schedule? A: Go to Account → Account & Profile → Business and click the Fee Schedule link.
Still need help? Contact us at support@neropay.app or create a ticket.