Overview
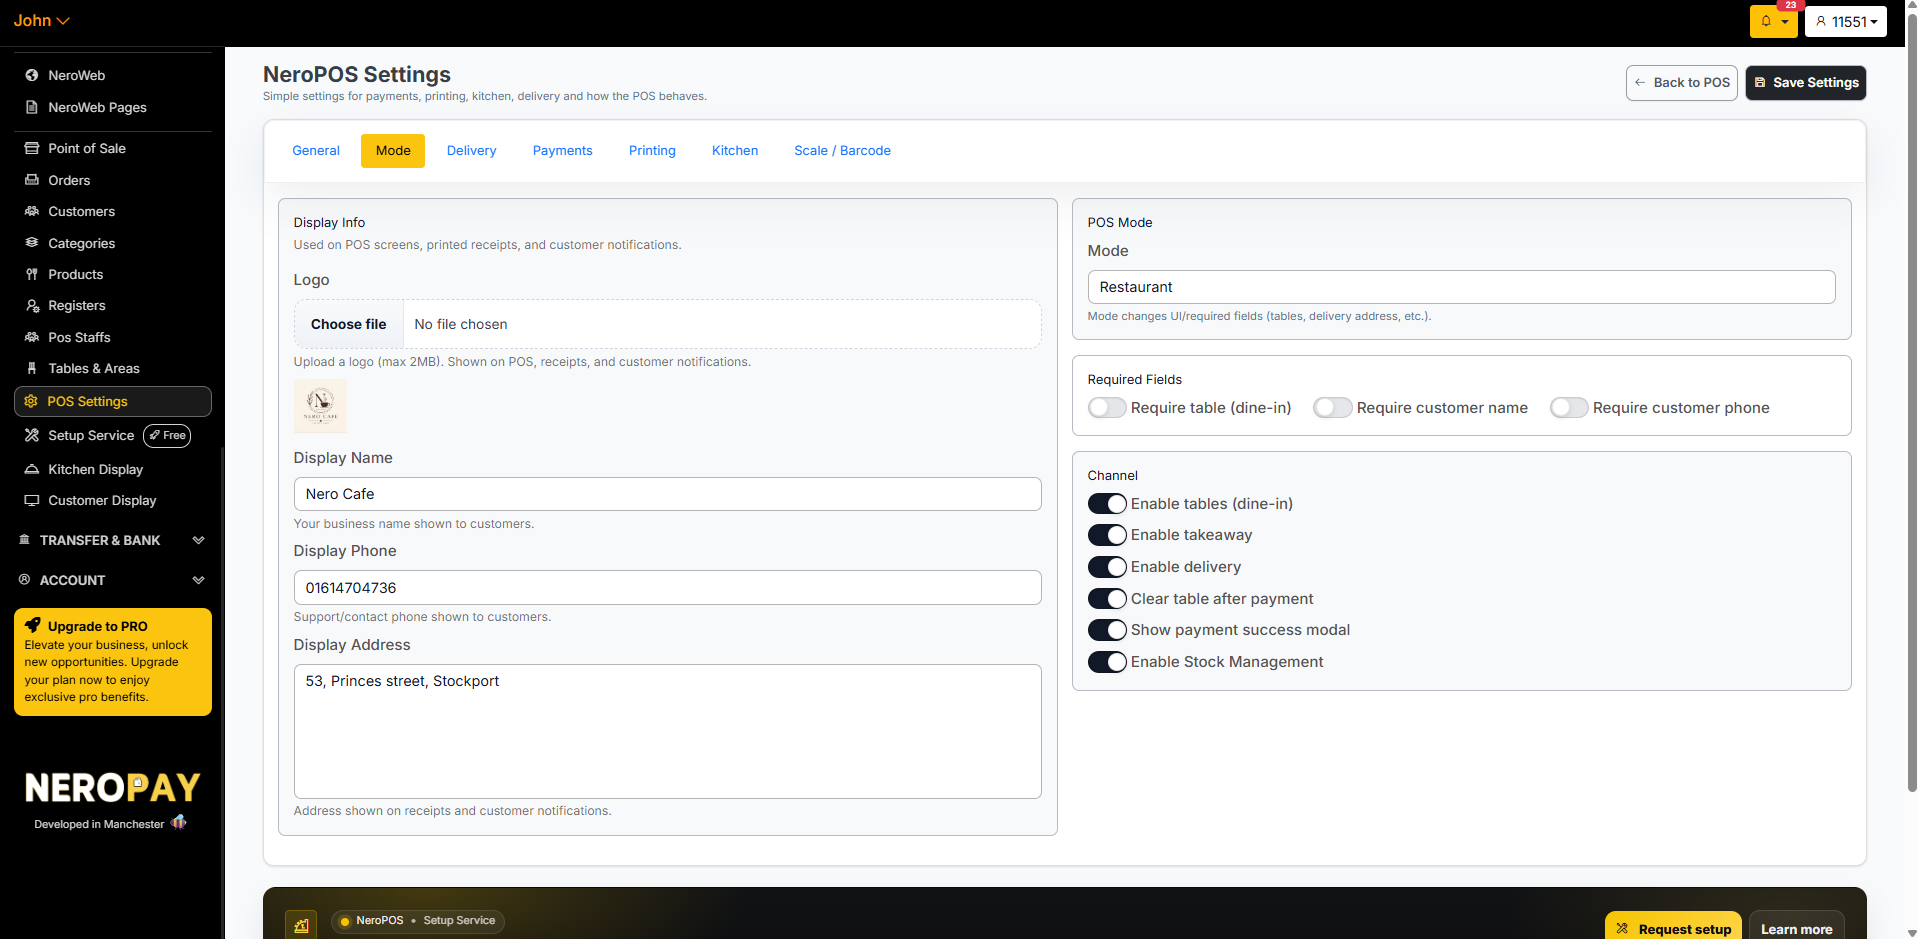
The Mode tab is where you set up how your POS presents itself to customers and staff. This includes your business display information shown on receipts and notifications, your POS mode type, required fields when taking an order, and which channels are active.
How to get there
From your dashboard, follow this path:
NeroPOS → POS Settings → Mode
📸
Part 1 — Display information
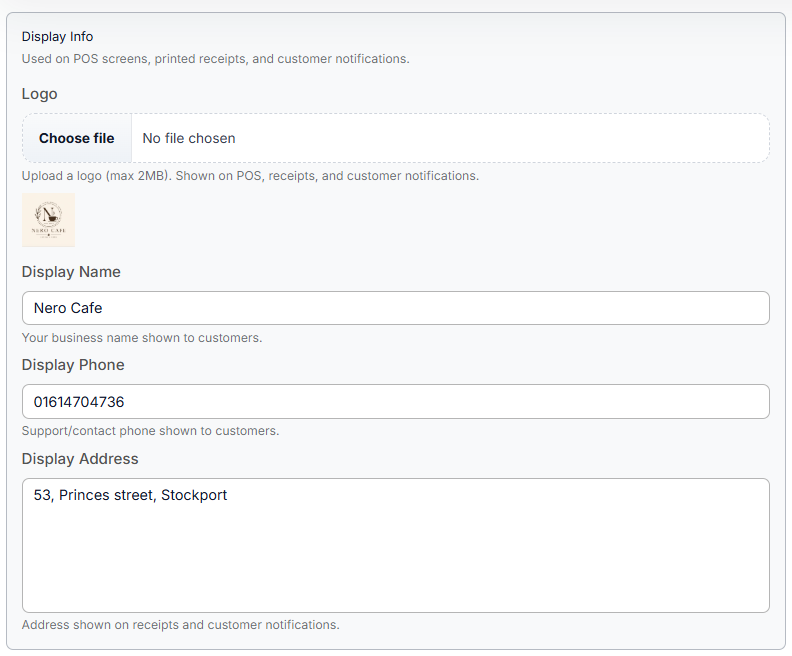
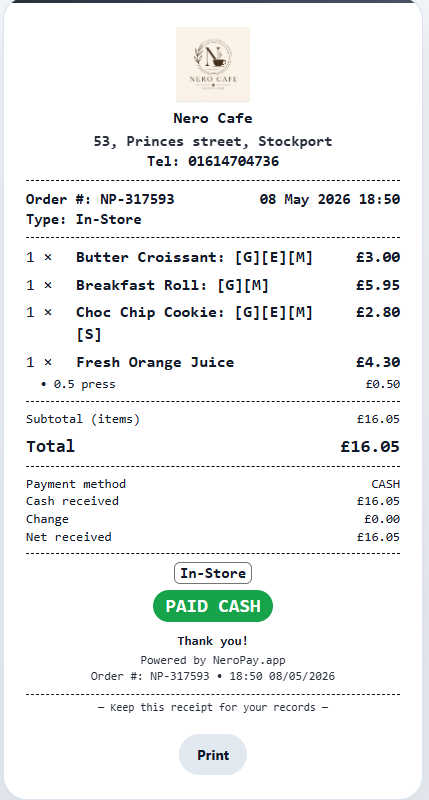
This section controls what customers see on your NeroWeb store, POS screens, printed receipts, and customer notifications. If you want to update anything that appears on a receipt — such as your business name, phone number, or address — this is where you do it.
| Setting | What it does |
|---|---|
| Logo | Upload your business logo (max 2MB). Shown on the POS, receipts, and customer notifications |
| Display name | Your business name shown to customers — for example, Nero Cafe |
| Display phone | Your support or contact phone number shown to customers |
| Display address | Your business address shown on receipts and customer notifications |
📸
Part 2 — POS mode
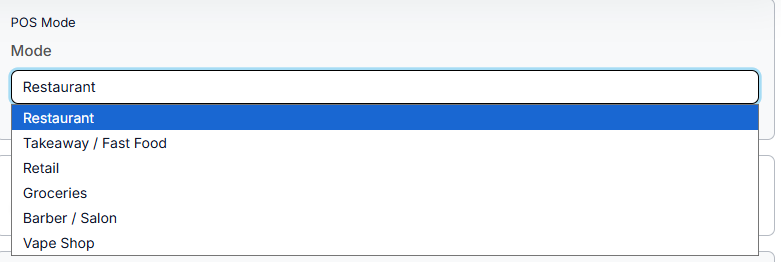
Select the mode that best matches your business type. The mode you choose changes the UI layout and which fields are required when taking an order.
Available modes include:
- Restaurant
- Takeaway
- Retail
- Grocery
- Barbershop
- Vape shop
💡 Example: Selecting Restaurant enables table management and dine-in workflows. Selecting Retail hides table and delivery options to keep the POS focused on straightforward transactions.
📸
Part 3 — Required fields
These settings control what information must be entered before an order can be taken. Choose the fields that match how your business operates.
| Setting | What it does |
|---|---|
| Require table (dine-in) | Staff must select a table before taking a dine-in order — useful for restaurants that route orders to specific tables |
| Require customer name | Staff must enter the customer's name before completing the order |
| Require customer phone | Staff must enter the customer's phone number before completing the order |
💡 Note: Customer records collected here are linked to the Customers section in NeroPOS, where you can view order history and manage customer profiles.
See Managing customers and notifications →
Part 4 — Channel
Channels control which ordering modes are active on your POS. Toggle each one on or off depending on how your business operates.
| Setting | What it does |
|---|---|
| Enable tables (dine-in) | Activates dine-in table ordering on the POS |
| Enable takeaway | Activates the takeaway ordering channel |
| Enable delivery | Activates the delivery ordering channel |
| Clear table after payment | Automatically clears and resets the table once payment is taken |
| Show payment success modal | Displays a confirmation screen after a successful payment |
| Enable stock management | Activates stock tracking for products |
⚠️ Note: Only the channels you turn on will appear on your POS. If you only take dine-in orders, for example, turn off takeaway and delivery to keep the interface clean and simple for your staff.
Frequently asked questions
Q: Where do I update my business name on customer receipts? A: Update the Display name field in the Display Info section of this tab.
Q: What happens if I change the POS mode? A: The UI and required fields will update to match the new mode. Some fields or buttons may appear or disappear depending on which mode you select. Always check your POS after changing mode to make sure everything looks correct.
Q: Do I need to enable all three channels — dine-in, takeaway, and delivery? A: No. Only enable the channels that apply to your business. Unused channels can be left off to keep your POS interface simple for staff.
Q: If I require a customer name or phone, can I still take orders without filling it in? A: No. If a required field is turned on, it must be completed before the order can proceed. Only enable these fields if your workflow genuinely needs them.
Q: Where can I see the customer information collected during an order? A: Customer records are stored in the Customers section of NeroPOS. See Managing customers and notifications →
Still need help? Contact us at support@neropay.app or create a ticket