The essential Day 1 tasks to get the business registered and the hardware ready
Add Location and Registration
You must complete the location and registration setup. This is a mandatory step and must be finished before you can start using the EPOS software. Once the locations and registrations are set up, you will be able to log in to the EPOS system.
Before logging into the EPOS system, you must configure your Location and Register settings. Follow the steps below to get started.
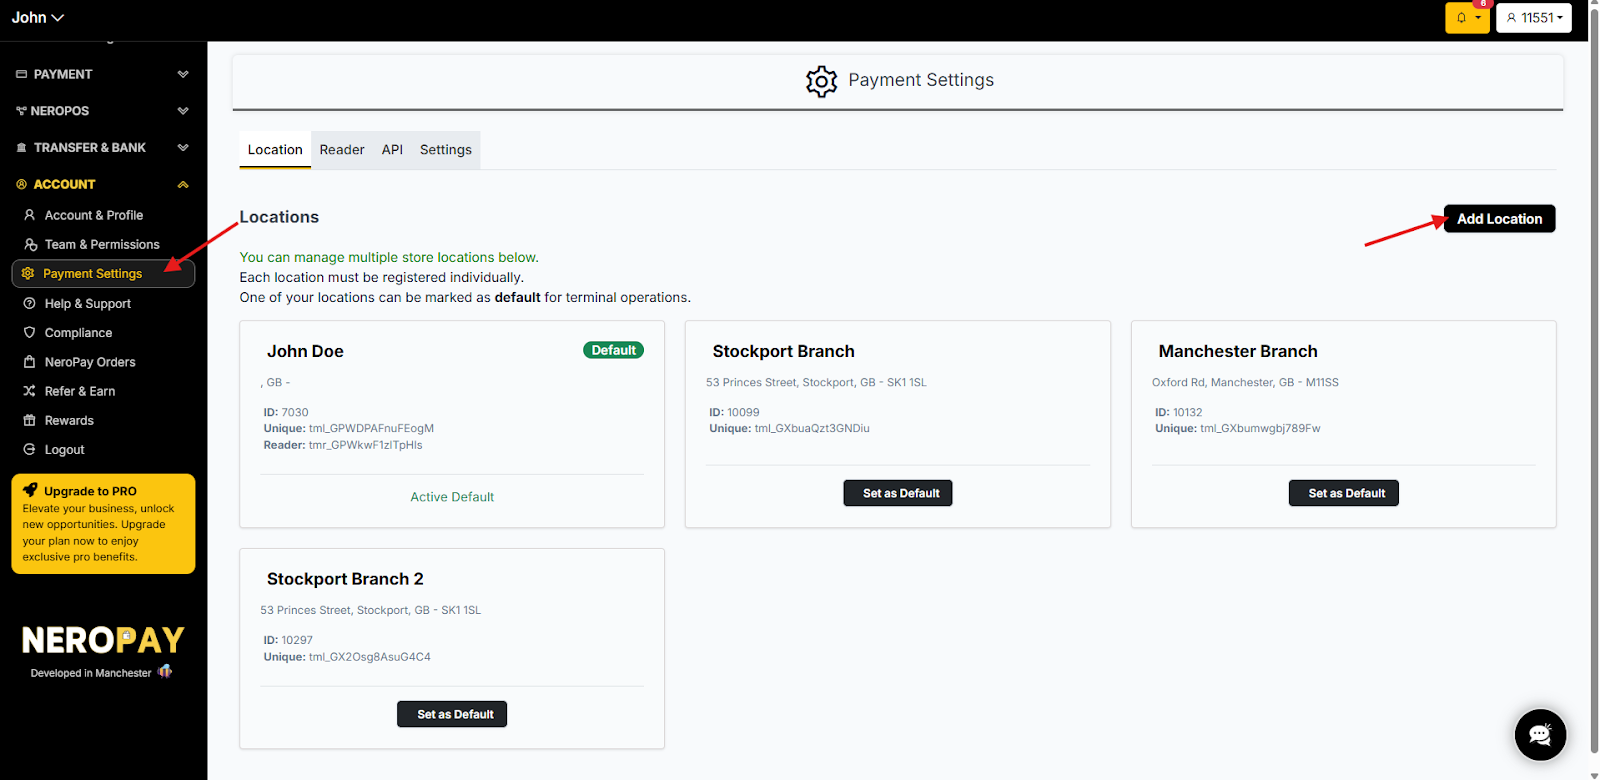
Step 1: Add a Location
A location must be established before a register can be assigned to it.
- Navigate to: Account > Payment Settings.
- Click + Add Location and enter the required details.
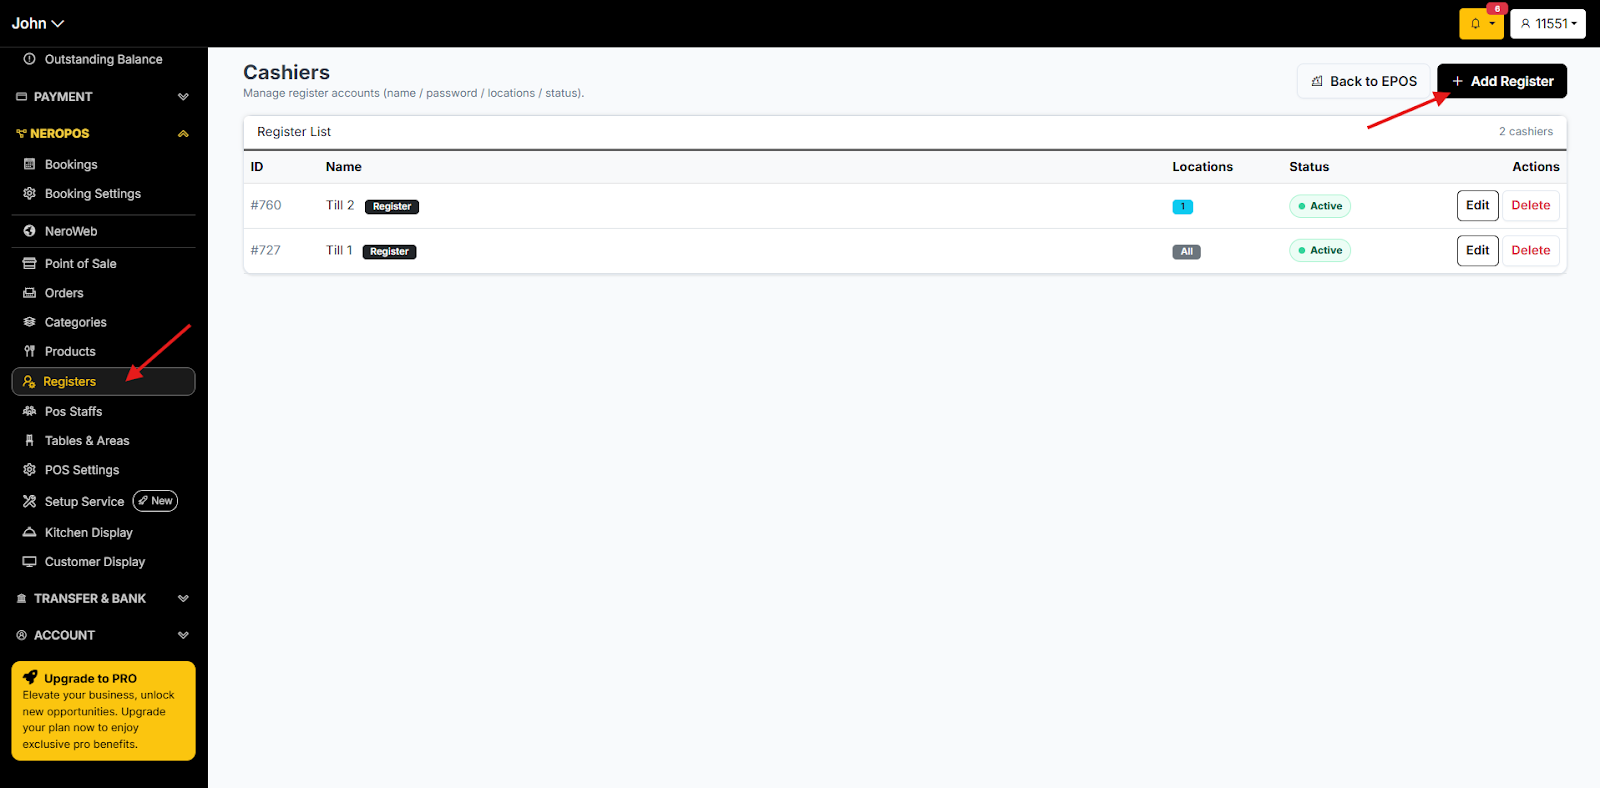
Step 2: Create a Register
Once your location is active, you need to assign a digital register to it.
- Navigate to: EPOS > Registers.
- Click + Add Register (Note: Ensure you select the correct location from the dropdown menu during this setup).
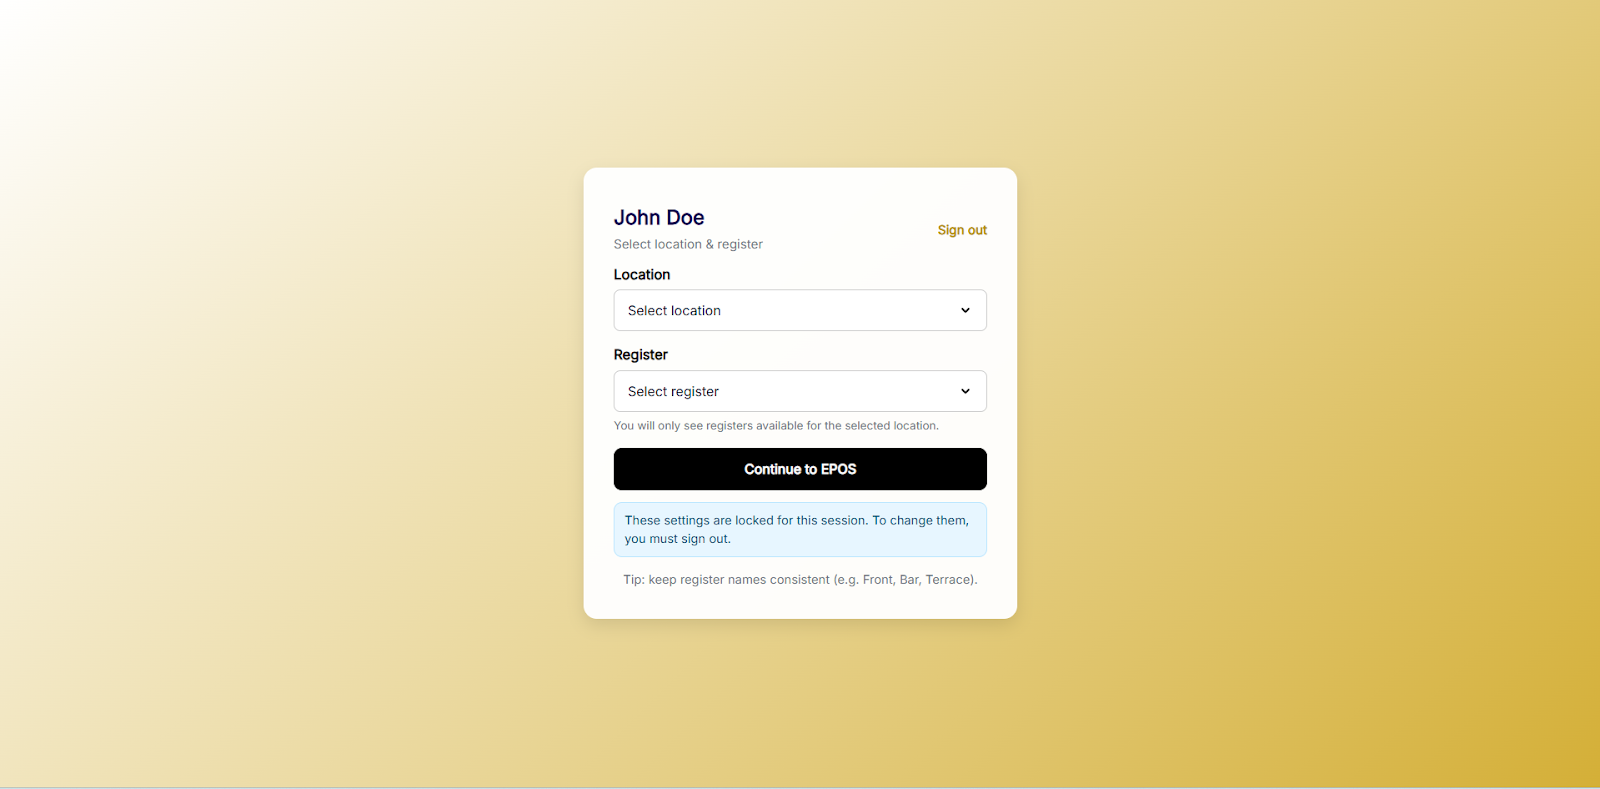
Step 3: Access the Point of Sale (POS)
After your locations and registers are configured, you are ready to begin transacting.
- Go to: NEROPOS > Point of Sale.
- You will be redirected to the login portal.
- Select your preferred Location and Register from the prompts to enter the sales interface.
If you have any questions, please contact us via email at support@neropay.app