-
Dashboard
-
How to Set Up and Use NeroPay’s Transfer Schedule
-
How To Link Your Bank Account
-
How To Pay Out Funds
-
Creating A Ticket For Customer Support
-
Transactions
-
Reports Overview
-
Add Bank Account
-
Rewards & Gifts
-
Transfer Money
-
Transfer History
-
Account & Profile Settings
-
Money Payout Schedule
-
Top Up Money
-
Tap to Pay
-
How To Use The NeroPay Card Terminal
Overview:
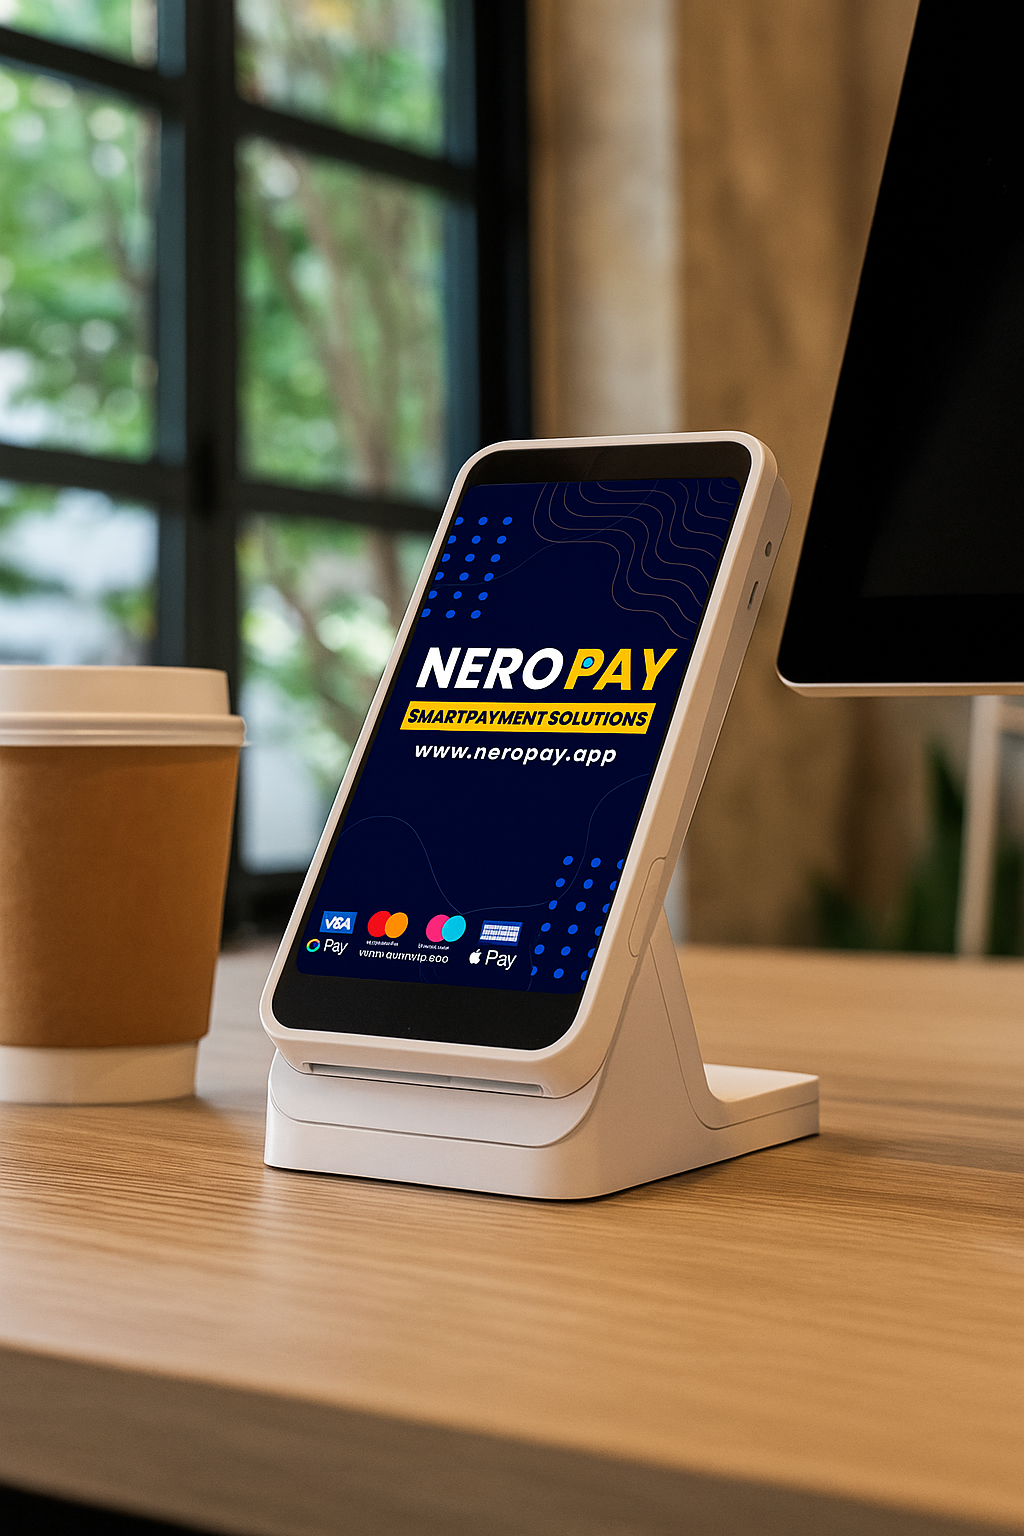
Get up and running in minutes with our step-by-step guide. The NeroPAY PRO+ is a sleek, Android-based payment device designed for modern businesses. Combining countertop convenience with handheld flexibility, it supports all major cards, digital wallets, and payment types — perfect for busy UK merchants.
1. Power On
- Fully charge the device before first use.
- Hold the power button until the screen lights up.
2. Connect to Wi-Fi
- Open Settings → Wi-Fi.
- Select your network and enter the password.
3. Enter the Transaction Amount
Use the 5-inch high-resolution touchscreen to enter the total amount.
4. Accept the Payment
- Contactless (NFC): Tap the card, phone, or smartwatch near the contactless symbol.
- Chip & PIN (EMV): Insert the card and follow on-screen prompts.
- Magstripe: Swipe the card when prompted.
- Digital Wallets: Accept Apple, Samsung and Google Pay with ease.
5. PIN-on-Glass
If a PIN is required, the customer enters it securely on the touchscreen.
6. Transaction Confirmation
- Wait for the Approved message to appear.
- Follow on-screen prompts to provide a printed, emailed, or no receipt.
7. Keep Selling
- The compact, smartphone-like design works perfectly on a countertop or in your hand.
- Extended battery life keeps you trading all day.
8. No Contract or Cancellation Fee
Cancel at any time with no penalties or hidden charges.

Views: 17
In this page:
