
Creating A Ticket For Customer Support
Why create a ticket?
Support tickets are the official way to get help from NeroPAY. They ensure:
- Tracking & Accountability – Every issue gets a case number so nothing is lost.
- Faster Resolutions – The right team (security, payments, compliance, etc.) sees your case.
- Clear Communication – All updates, replies, and attachments are in one thread.
- Priority Handling – Urgent or security-sensitive issues can be flagged as high priority.
- Audit Trail – You have a record of reported issues, timelines, and resolutions.
When should you create a ticket?
You should open a ticket whenever you need official support beyond basic FAQs or live chat. Common reasons include:
- Security – suspicious activity, account compromise, fraud attempts, vulnerability reports.
- Payments – failed transactions, chargebacks, payout delays, refund issues.
- API & Integrations – webhook errors, authentication issues, SDK bugs.
- Account & Compliance – KYC verification, account access, regulatory questions.
- Bugs & Outages – platform errors, dashboard glitches, or performance problems.
- General Queries – anything not covered in documentation (best practices, feature use, guidance).
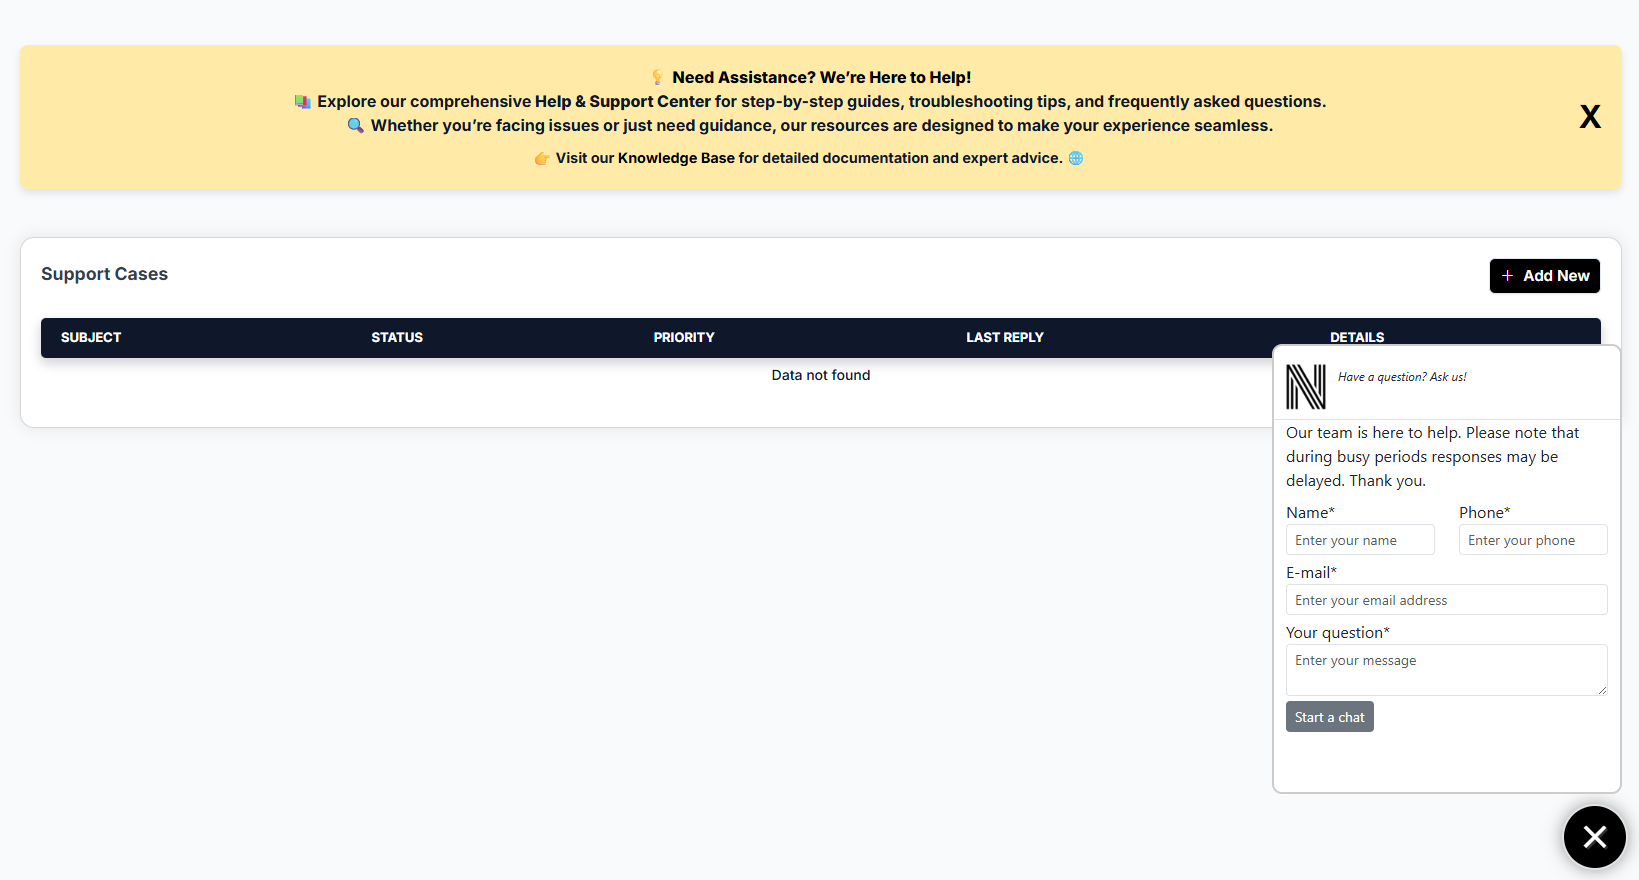
Step 1 – Go to Support Cases
- Sign in to your NeroPAY dashboard.
- Open Support Cases. You’ll see a table with columns like Subject, Status, Priority, Last Reply, and Details, plus an Add New button.
Step 2 – Start a new case
Click Add New (top-right).
Step 3 – Fill in the ticket form
Provide as much detail as possible for faster support:
- Name
- Phone (optional)
- Subject – short summary (e.g., “Suspicious login alert”, “Refund failed for multiple customers”).
- Category/Type – Security, Account, Payments, API, etc.
- Priority – Low, Normal, High, Critical.
- Description – include steps, error messages, relevant IDs, timestamps, expected vs. actual behaviour.
- Attachments – logs, screenshots, or files that help.
Tip: Never include full card numbers, raw API keys, or passwords. Always redact sensitive data.
Step 4 – Submit
Click Submit.
Step 5 – Track your ticket
Back in Support Cases:
- Status shows the stage (Open, In Progress, Awaiting Your Reply, Resolved).
- Last Reply shows when the team responded.
- Click Details to read or add updates.
In this page: